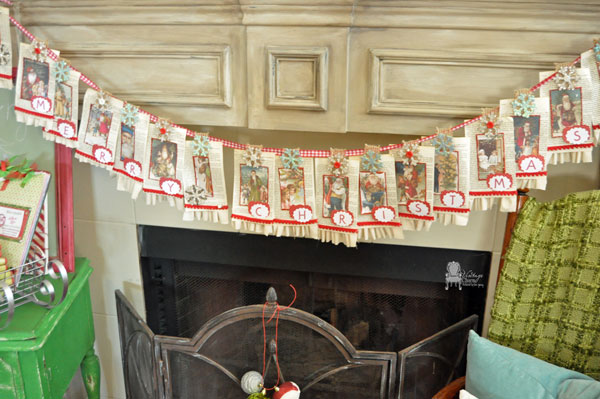
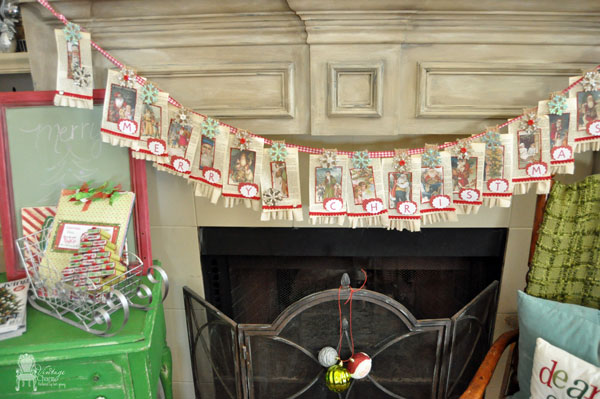
How to make your own Vintage Merry Christmas Banner
I love making banners. I actually started this one last year, but had pneumonia and just didn’t have the energy to finish it out the way I wanted to. But today I finally sat down at the table and finished it out!!
I usually have one big craft and lots of little ones that I create each year to be used again and again. I think I realize more and more as I get a bit older, that it’s not about what comes in a store, but the stories we will tell. This banner, my tree, all the things Christmas are sentimental. I love looking at the old ornaments that adorned my parents tree on mine, ornaments the kids have made at school still hanging there… each filled with memories. Stories.
My grandmother loved to read Reader’s Digest… and everything else. But she also loved Christmas & with 17+ grandchildren, it was always a great time. My grandmother was my best friend my whole childhood… I was her favorite… {that’s my story I’m holding to it.} But when my oldest was just 1, days before my birthday, and a little over a week before Christmas- I made a drive in the middle of the night to hold her hand while she went to be Jesus!! This time of year is the hardest time of year for me… And it always takes a bit of the Joy out the season for me… and I know she wouldn’t want it to but I sit here with a tear of Joy for her… This banner and my wreath from last year, helps bring her here for many Christmas’s to come.
Here are the things you will need if you’d like to recreate your own Vintage Merry Christmas Banner
Ribbons:Burlap, checked, and pom-pom
Vintage Book Pages
Vintage Inspired Christmas graphics from Etsy {click on highlighted text to see how I used them last year}
Mod Podge and Glitter Snowflake die cuts
Vintage Buttons Card Stock and Punches
Alphabet Stamp Set
Muslin fabric twice as long as your book page wide to ruffle and 3″ wide. and your handy dandy hot glue gun with a couple of long sticks
Now Let’s Create…
Now the fun part.
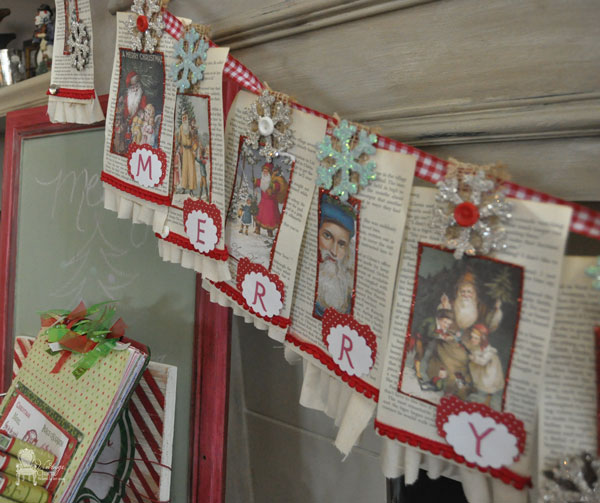
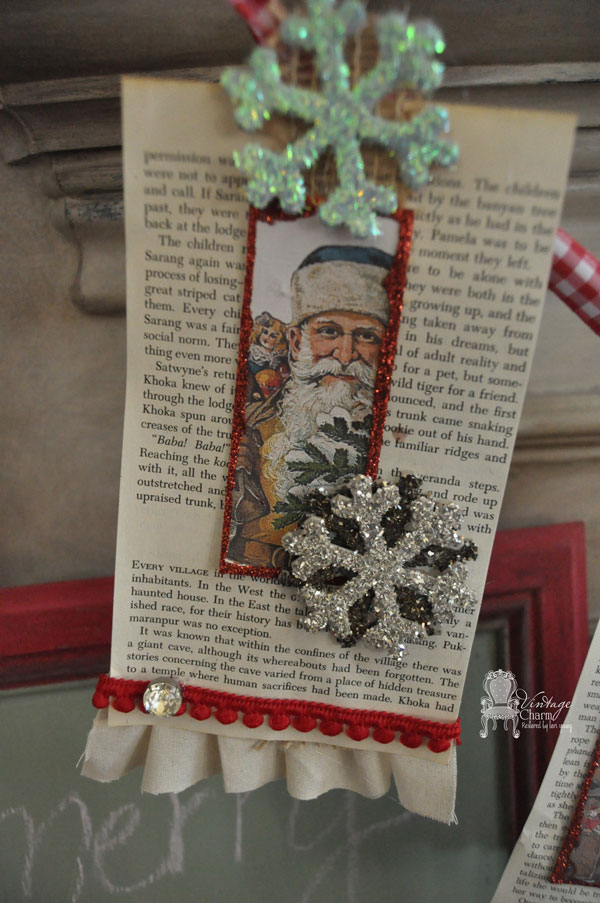
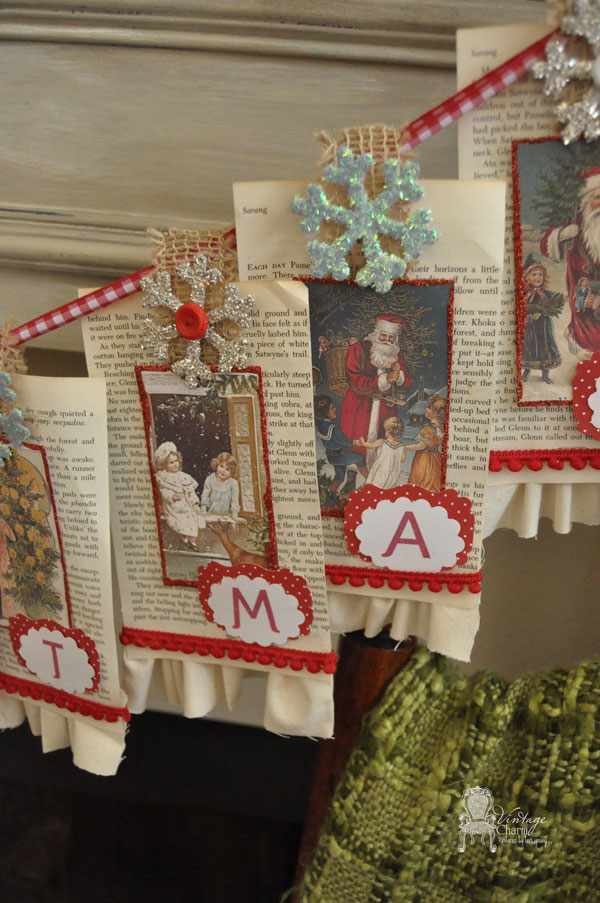
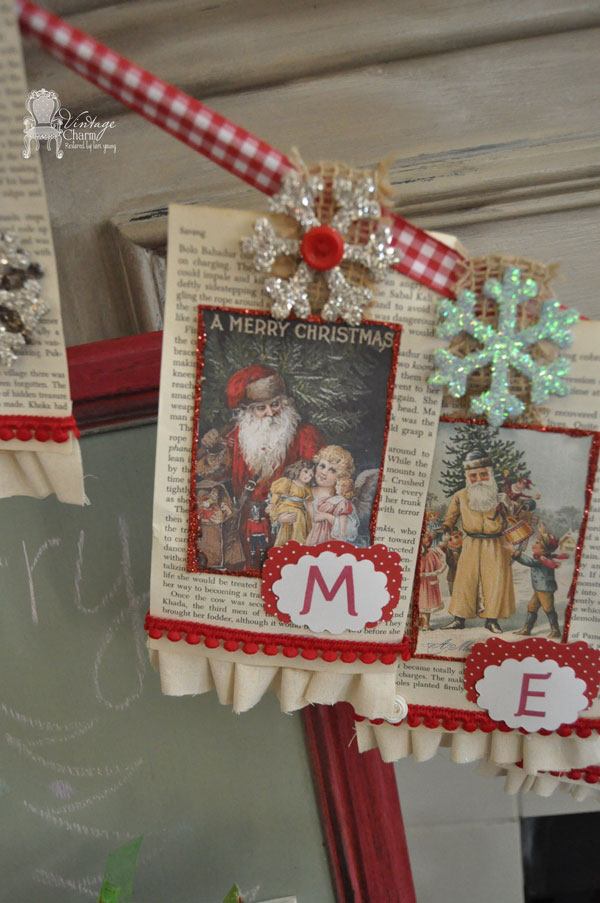
Print and cut out all of your vintage Christmas images and mod podge the edges and dip them in glitter. – lay to dry and continue on Book lovers turn away.
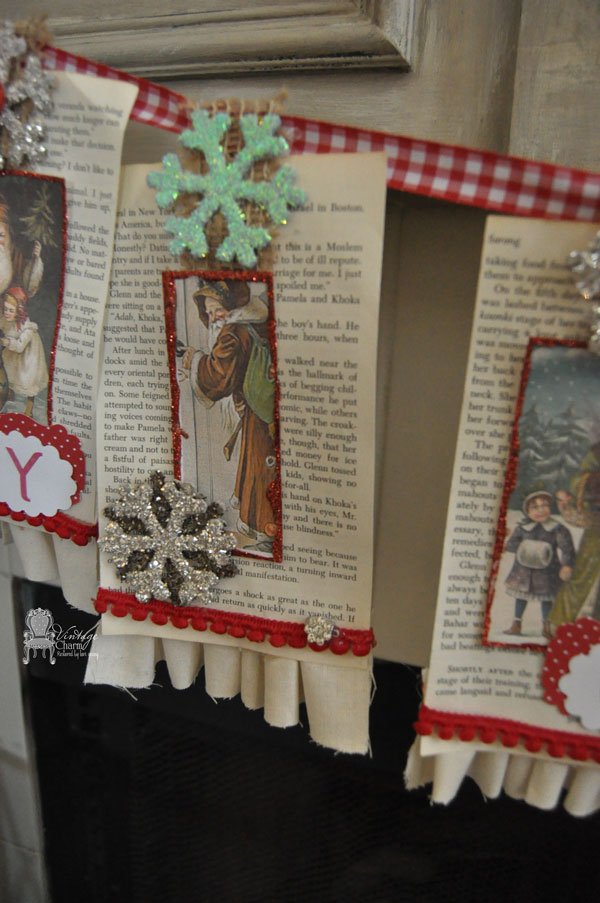
While you have your glitter thing going…. I bought 2 packs in the $1 section at Michael’s of chipboard snowflakes. Now if you have a Cricut or a Silhouette you could use a heavy cardstock and make them completely yourself… Mod Podge the fronts and glitter away!!
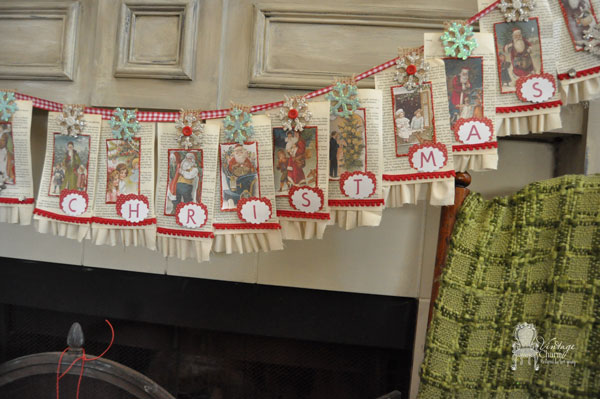
Find an old book- I used a readers digest from my Grandmother. I used 17 book pages- 3 as dividers and 14 for Merry Christmas Cut long strips of your burlap ribbon and hot glue to the backs of your pages and leave enough at the top to create loops for your main ribbon to go through. Hot glue your vintage images to cover the bottom of the loop you made with the burlap ribbon.
I cut 3″ wide strips, double the length of the book page, and hot glued pinching along the way to create ruffles along the bottom of the book page.
I punched out 2 different sizes of small diecut labels to do my Merry Christmas letters. I wanted to glitter them up too… but I am going with less is more… if you can even look at this and say that at all. I am an embellishing queen and have a hard time stopping myself. So that is where I stopped.
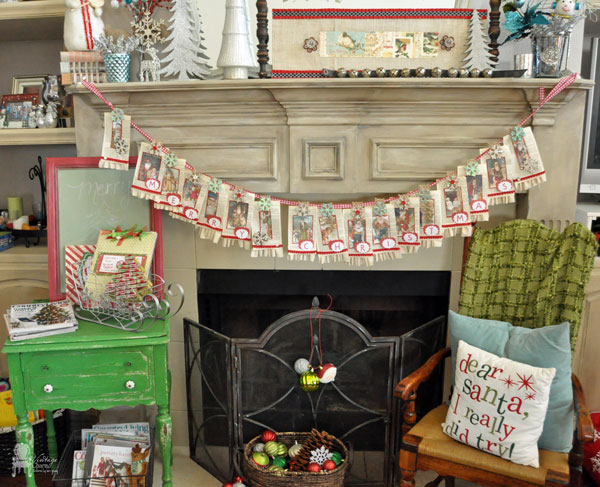
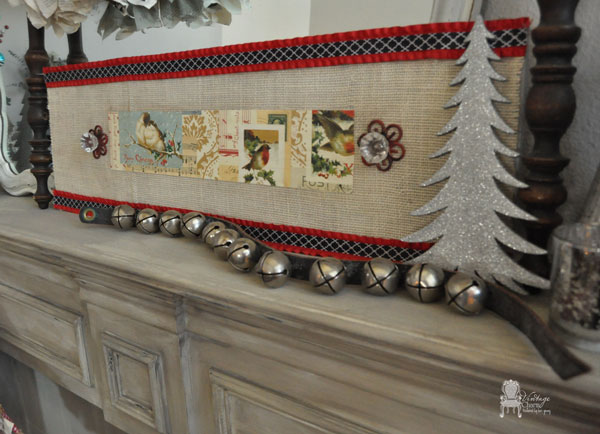
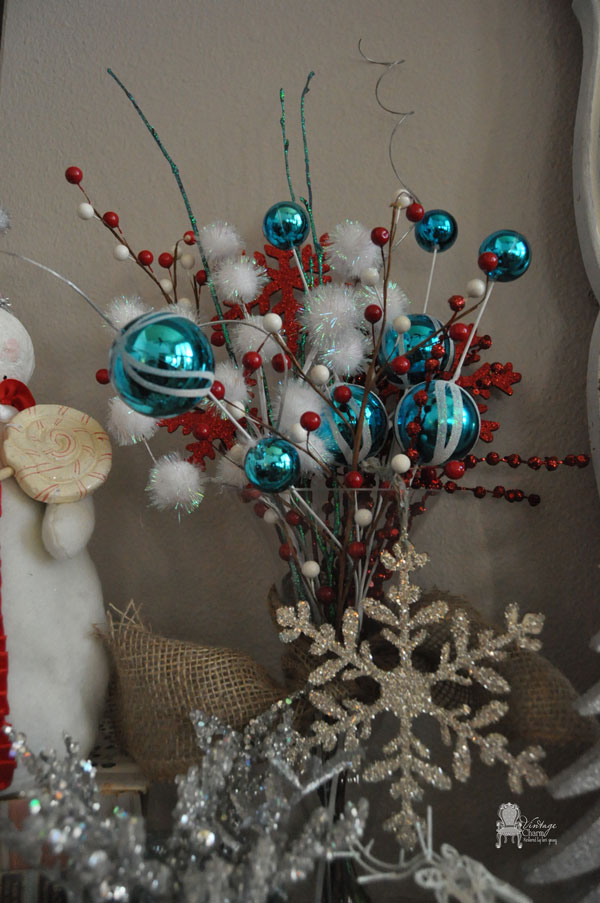
Here are a few more pictures just to enjoy!! I love the way it turned it out!! I hope you do to…

Gorgeous. Pinned. Linda