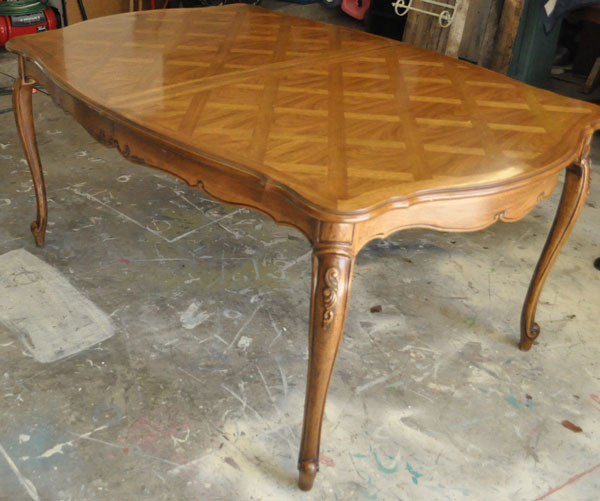
Today’s Painted French Dining set was absolutely gorgeous to start. And if this set had been mine… I would have painted it exactly the way they picked!! That being said, I did No influencing… It was inspired by a piece I had already done… So this set the color palette.
Out of the 20 pieces that they brought, this was the only one they knew exactly what they wanted. This color palette above and left the creativeness to me. I love that!! Lets me play with where to accent and what to highlight.
So besides sharing this beautiful set with you… I will try and share along the way how I chose the colors and some tips to help you get the look!!
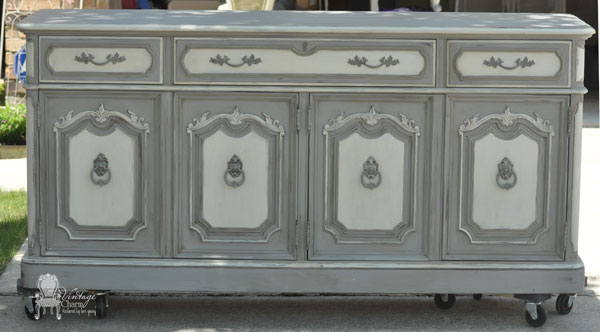
I started with the largest project first. The china hutch. And by largest, I truly mean the largest hutch I had painted to date. I couldn’t even fit the pieces on top of each other in the garage- weight and height were too much!! {The bottom was 34″ tall and the top was 55″ tall. Together making it… a whopping 7 ft 4″ }
I gave the base a coat in Maison Blanche Franciscan Grey. I did two coats all over. I would share the before picture with you of the hutch but it’s lost on my old iphone from the long wash in my duvet cover…
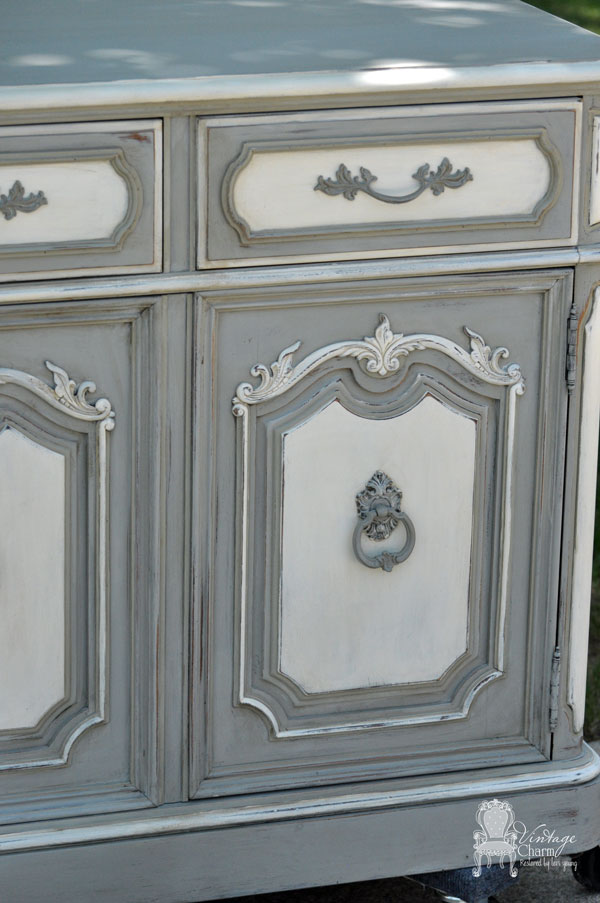
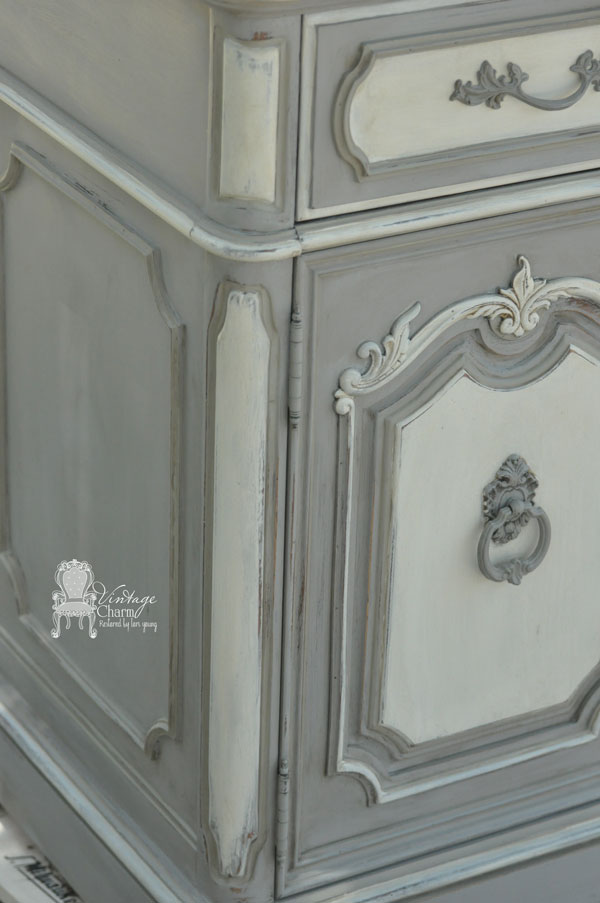
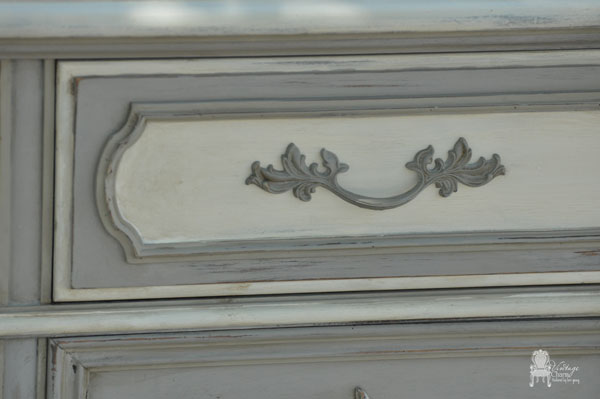
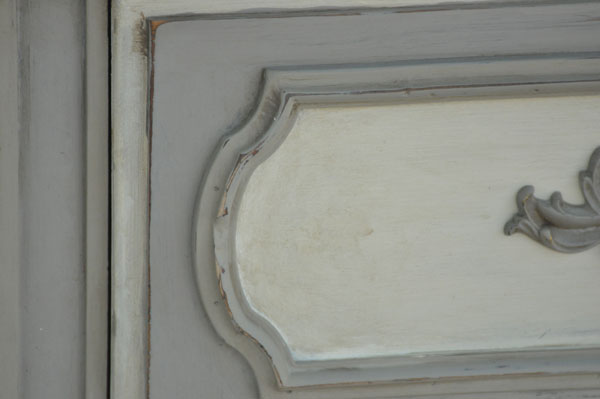
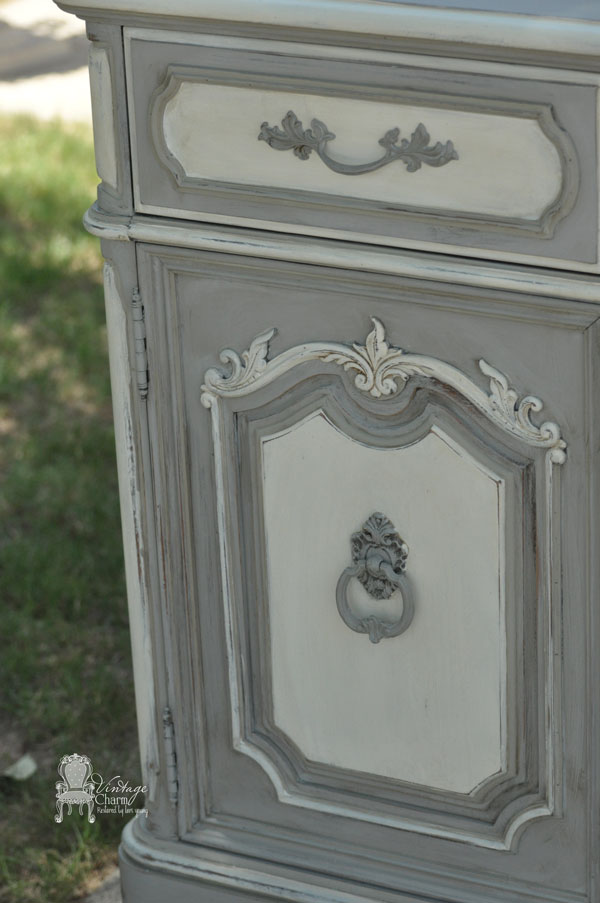
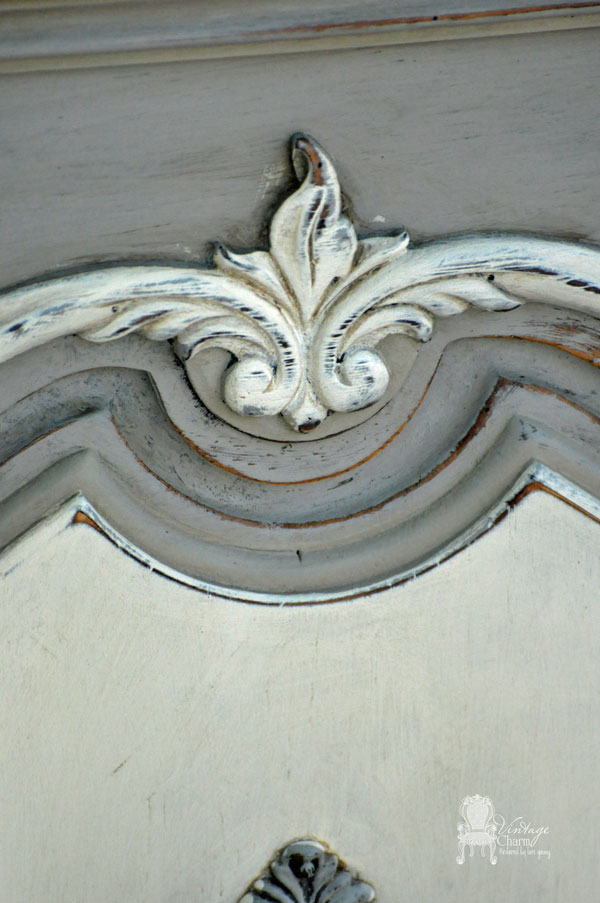
But the front of the hutch doors had the same pattern as the top of the table above. I knew the doors would be a lighter color but wasn’t sure yet where so I painted the entire piece in the base color. And by painting the base color when you distress down you will be able to get a multi-layered look… which you will see in closer detailed pictures.
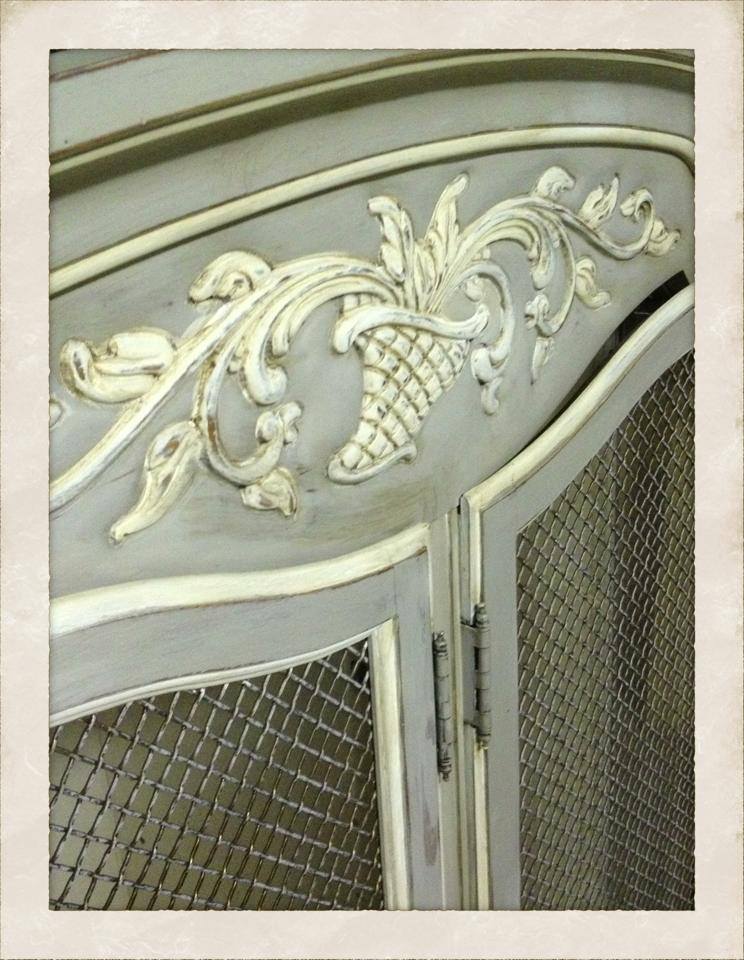
I don’t have a color straight from the can that matched the inspiration piece so I custom mixed Maison Blanche Magnolia and Baguette to come up with the beautiful off-white cream. I began playing with where I wanted to highlight with that.
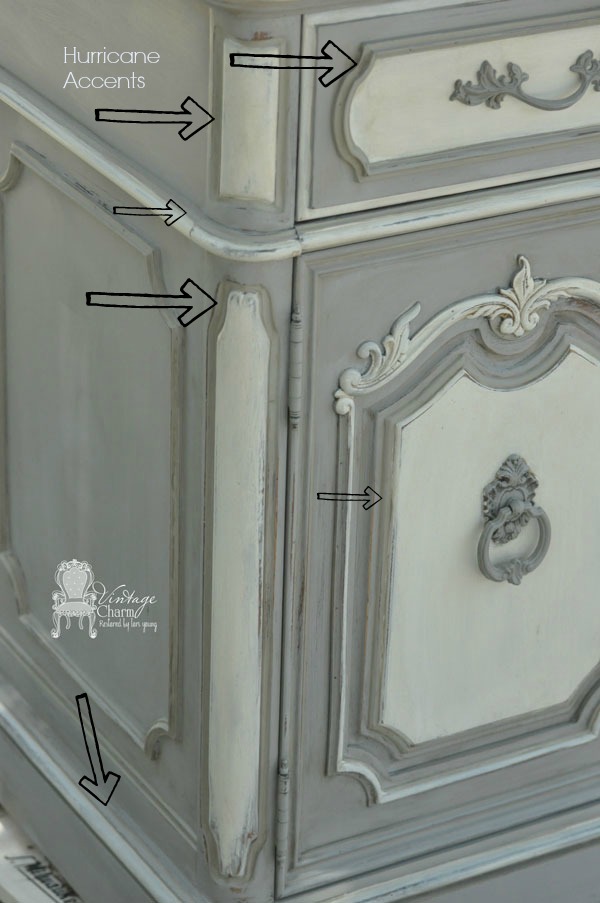
I decided a third color would help add a little more definition… But not be too bold to distract the eye.. So here’s the same picture showing you all the places I added in Maison Blanche Hurricane.
So yes, multiply the out by 4 doors on the bottom and four doors on the top, 2 side windows, plus more and that is a lot of time with an artist brush!! But I loved every minute it of it when it was done!! Worth it!!
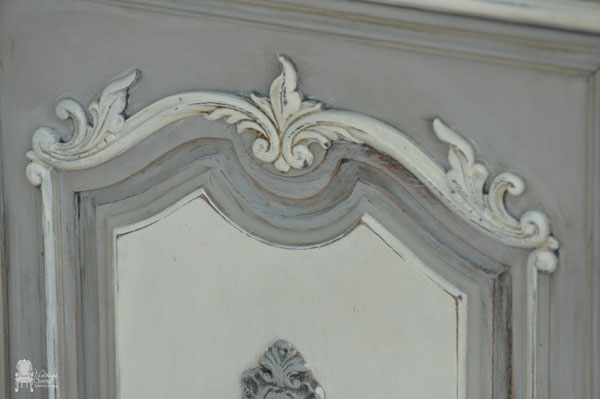 This piece was so much fun to paint!! I truly loved every minute… which may make me dorky but that’s okay!!
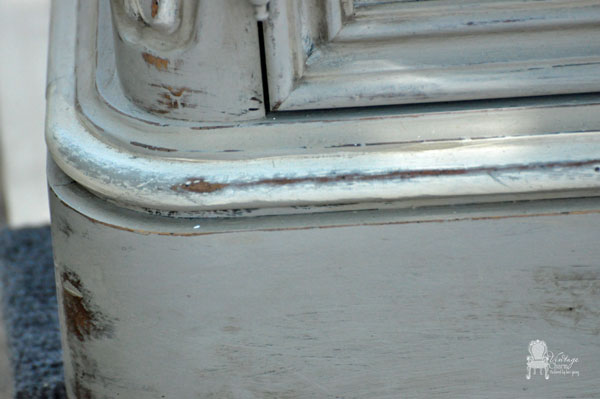 I used my Costco wipes and a high grit sandpaper to do the distressing. I prefer this method for a couple of reasons… You have a lot more control, it’s less messy, and it’s so much more natural looking.
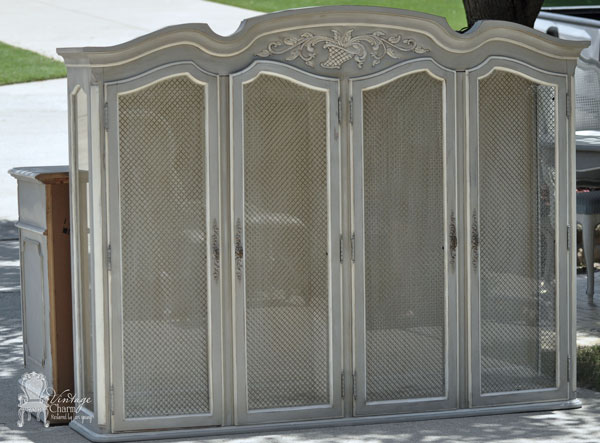 To give you a clear idea of how big that top is… It would make an awesome kid dressing room!! Or so Mia might tell you!! I found her in there a time or two!! It’s painted inside in the same accenting color. And waxed with both light brown and clear waxes. I am sad that it was one of the last pieces I brought out before the moving truck showed up “on-time” and I didn’t get more detailed shots of it!! The one below was a sneak peek of it I shared on facebook… So not high quality on the picture… Sorry!!
Then there is the table… they chose the top of the table to be the off-white and the chairs to be the off-white… making it a great way to play off the hutch!! And that I’ll share with you in another post!! This one is big!!
Thank you for stopping in!! See you again soon, I hope!! ~ Lori
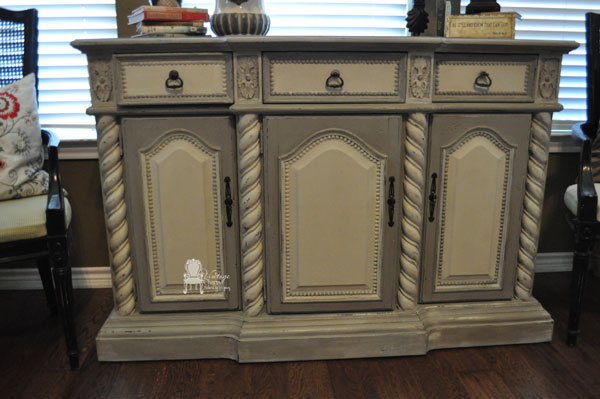
Love how the pieces turned out!!! Beautiful!!!
Wow, you did SUCH a great job! This is amazing. I love the accent colors and all the detail work. What a beautiful piece. Thanks for sharing your process 🙂
This is gorgeous. I love the 3rd color and the dimension it give all the detail on the piece. I’m new to this, very new. I see what colors you used, but what kind of paint is it?
Never mind. I figured it out. Duh! Thank you for the inspiration.
Lori you did an amazing job! So beautiful!
Thank you Shanna!!
It’s so pretty! Love all the details. xoxo
Thank you Clydia!!! The details were definitely the best part of this piece!! It was a fun one do!!
You did a fabulous job on this piece. The detailing is highlighted so well with your color choices and how you used them. Great Job!
Thank you Rachel!! This piece made my job soo easy!!
[…] So we left off with the beautiful china hutch […]
[…] beautiful hall tree was a matching piece to the Dining Set that I did here and here… be sure to check those out {by clicking on highlighted text} if you haven’t […]
Beautiful piece, I really adore your work, stunning.
I love how you painted this hutch. I just bought a hutch that has great detail that I am trying to decide how to paint. I have a hard time deciding on colors and paint to use. What do you mean when you say you “used your Costco wipes and sand paper to distress” ? Do you wipe off the paint when it is wet with the wipes and clean up the mess from distressing with the wipes? Sorry for the stupid question but I was wondering if I’m missing something that may help me. Would you be able to give me some advice if I sent you a couple of picture of my project? I realize this is an old post but I hope to hear back from you. I hope you are doing well and recovery from your cancer. Thank you for your time!
God Bless,
[…] beautiful hall tree was a matching piece to the Dining Set that I did here and here… be sure to check those out {by clicking on highlighted text} if you haven’t […]