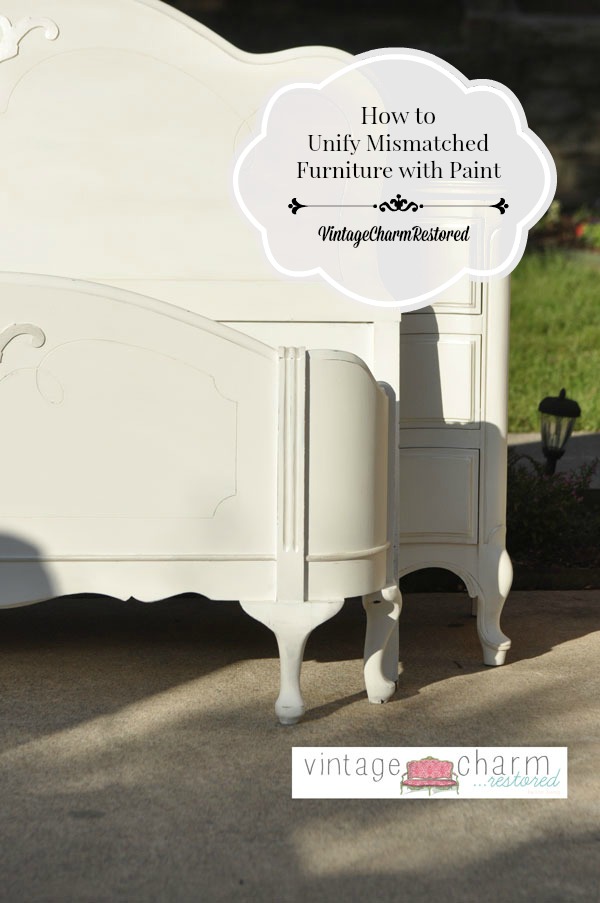
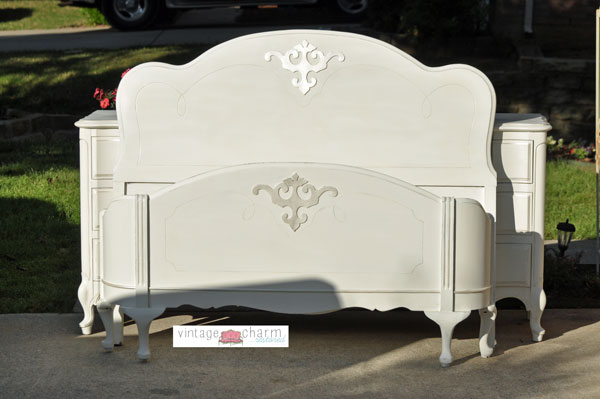
Today I have a beautiful set to share with you. Collected pieces over time and we are unifying mismatched furniture with paint!! Painted in all white to bring it together. Much like you would a collection of frames or mirrors that didn’t match, paint can always tie things together when choosing one simple color.
When a follower emailed me that she would like me to take these pieces she had been collecting to build her daughters dream bedroom, I was excited. Many times I don’t share with you all of the white pieces that I paint. In the land of custom painting- I do a lot of white. I thought it was cute that she was afraid to be boring with me because I share a lot of color with you. But truthfully, white is timeless and classic, very elegant and it matches everything. So, don’t ever be afraid to paint furniture white!! It allows you to change up your bedding and wall colors more freely.
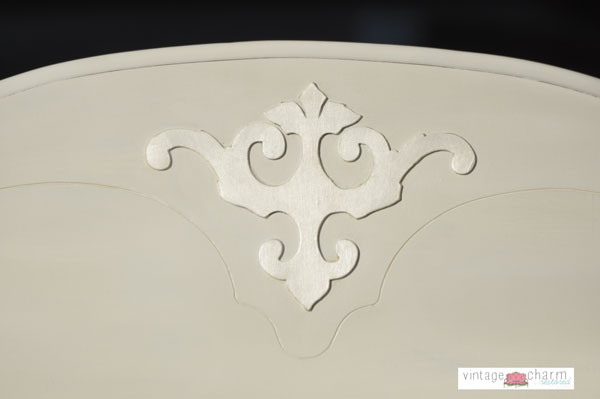
But today I have a lot to share so let’s get to it. This set has 3 different pieces that came from 3 different makers. We unified the look of the three pieces with American Paint Company’s Navajo White- my favorite vintage white. It’s not to stark and it’s not too creamy. It’s truly one of the best and most beautiful whites around. She loved a few of the pieces I had done previously with the accents in Modern Masters Oyster Metallic paints to highlight a few details. You can see those here and here.
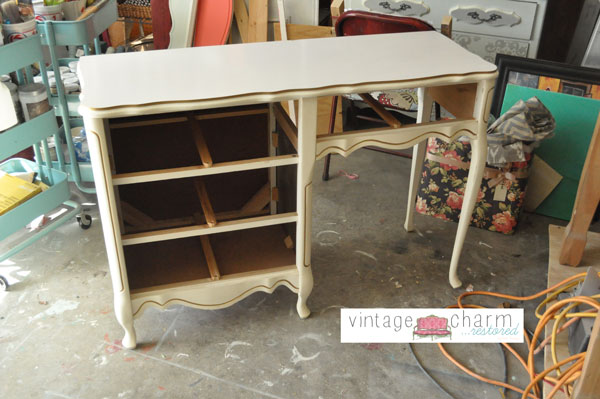
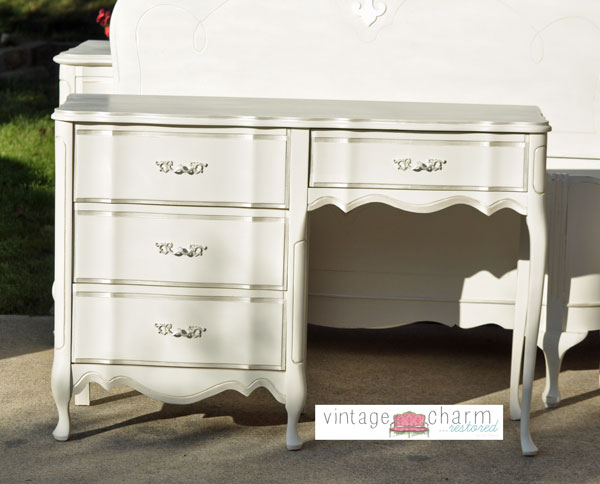
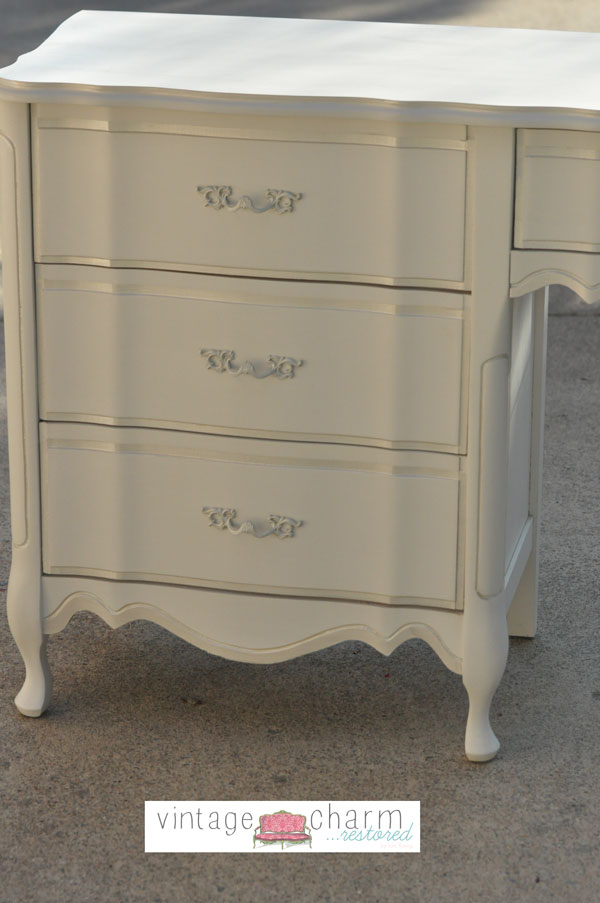
Here are the 3 different pieces. The desk and dresser were fairly similar. Hardware, feet, and original finish colors were different.
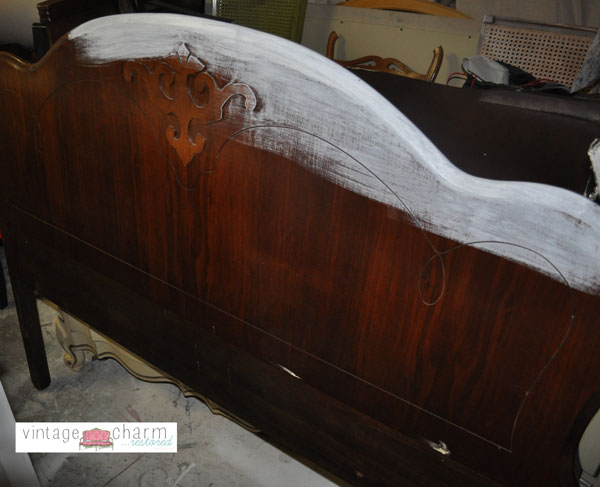
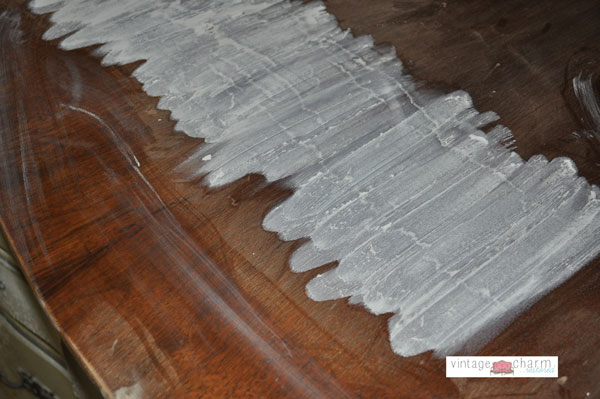
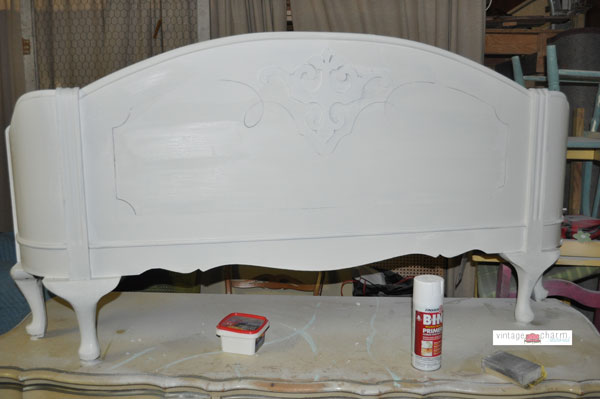
I started on the headboard first. I wanted to make sure that it wouldn’t have bleed through under the white paint so I tested a small area with a swipe of paint. And indeed the bleed through was evident. Also inspecting the footboard, we knew it needed some filling in on certain areas but the back of the footboard was a mess. When painting out old pieces you must truly look at the way its been varnished or stained before for drips and such. This set followed another set I had just done and was very similar in repairs needed. You can see here below the rippling of the finish and a light sanding and filling of those areas was enough to get a nice smooth finish in the end.
When filling areas like above, it is so important to let fully dry. Come back and lightly sand smooth and fill again- repeating until you have an absolute smooth surface to paint. That way you don’t have imperfections underneath your paint.
I used Bull’s Eye Primer with a shellac base in white. This helped with the bleed through and it did require two full coats of primer. Sand lightly to smooth the texture that can come from the spray primer. I then painted with two full coats of the Navajo white. Below you can see the progress. Whenever you are painting a piece that has bleed through, I would caution you to take your time and let it rest over night for at least a day so you can be sure that it is truly not going to come back. Especially under your light colors. This can happen and you don’t want to have your piece completely done and discover spots that came back being pesky.
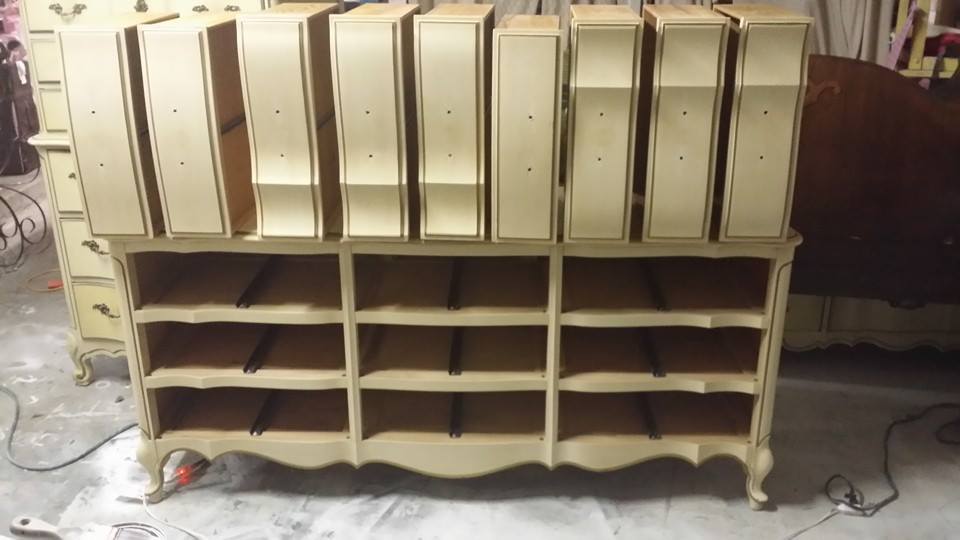
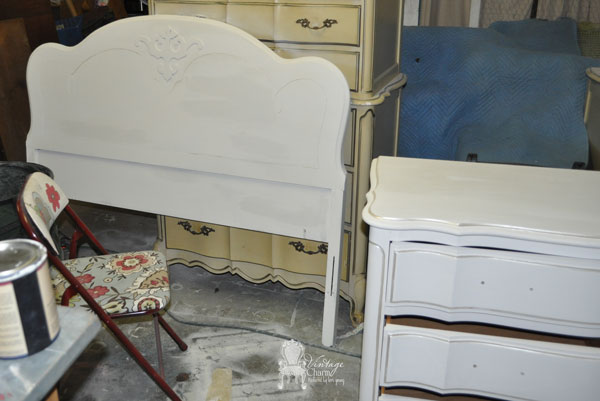
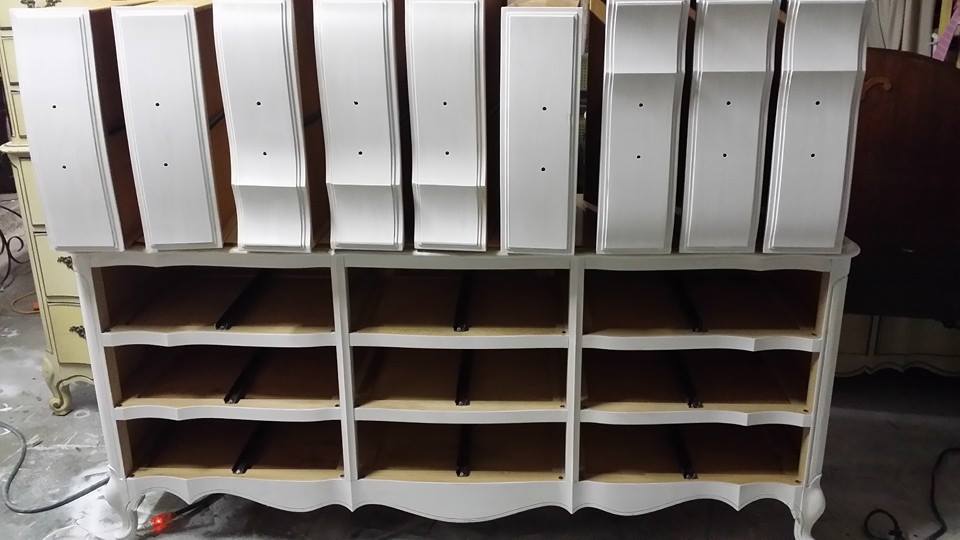
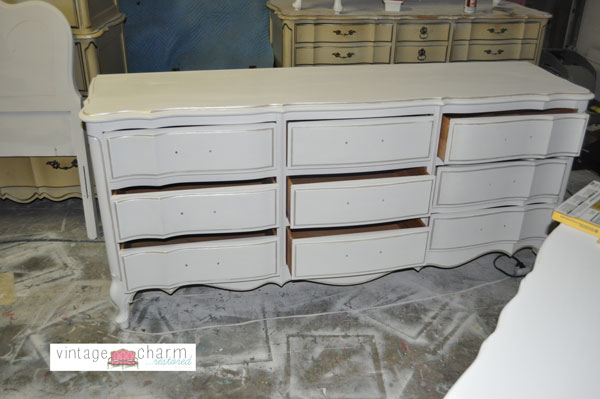
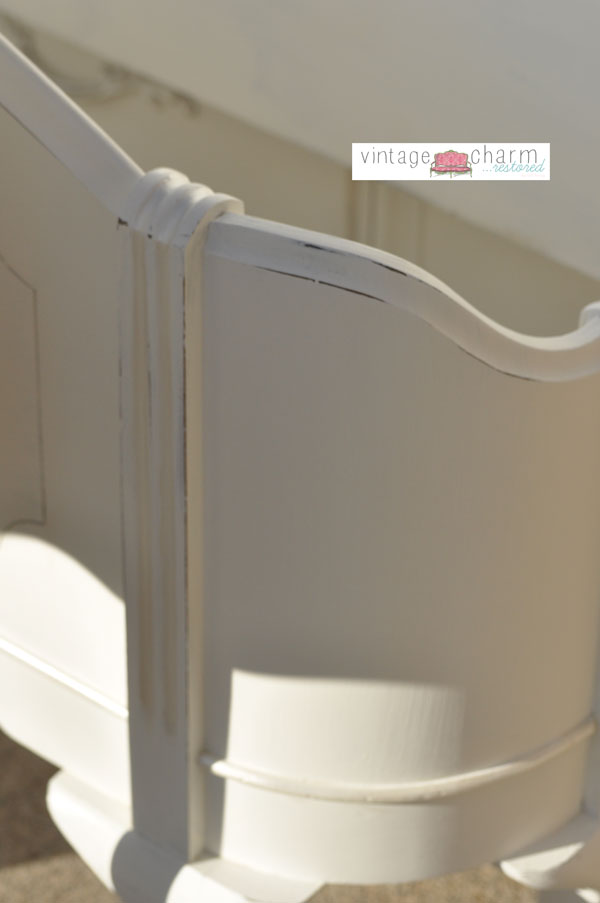
Because all of these pieces were of different underneath finishes, there was very minimal distressing done on the bed. And the dressers were completely smooth and no distressing. Here are during shots of the painting process. With a few tips to share. When painting bigger pieces, like the long dresser, use the top to hold the drawers while you paint. Keeps you from having to bend over. Simple enough, but I forget all the time.
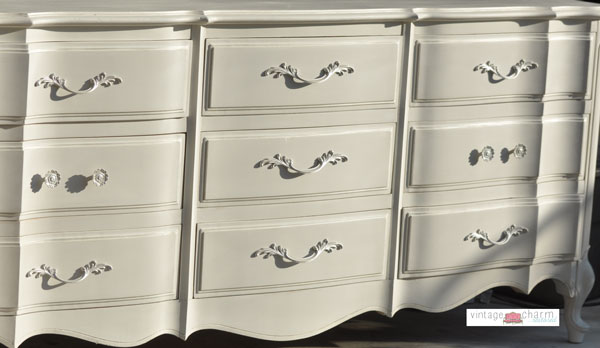
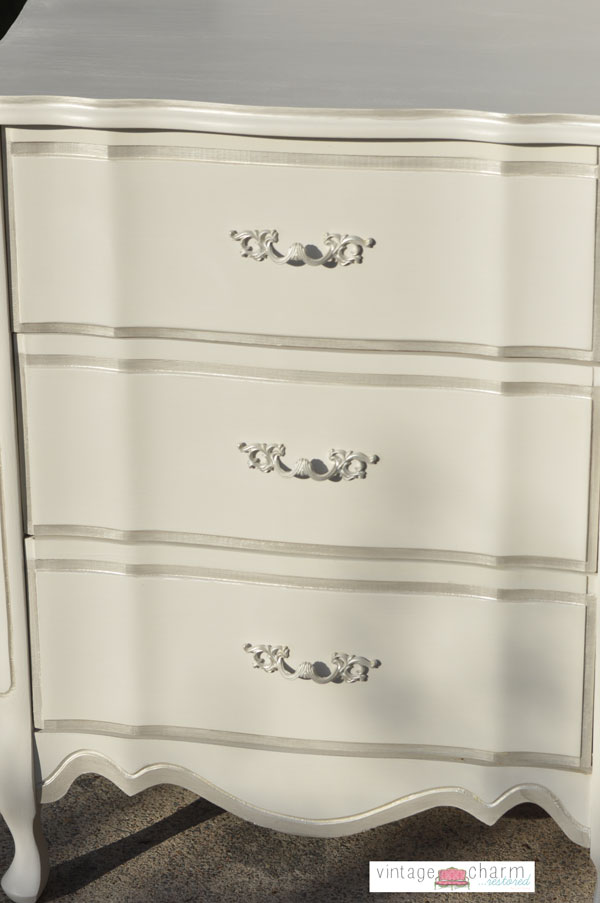
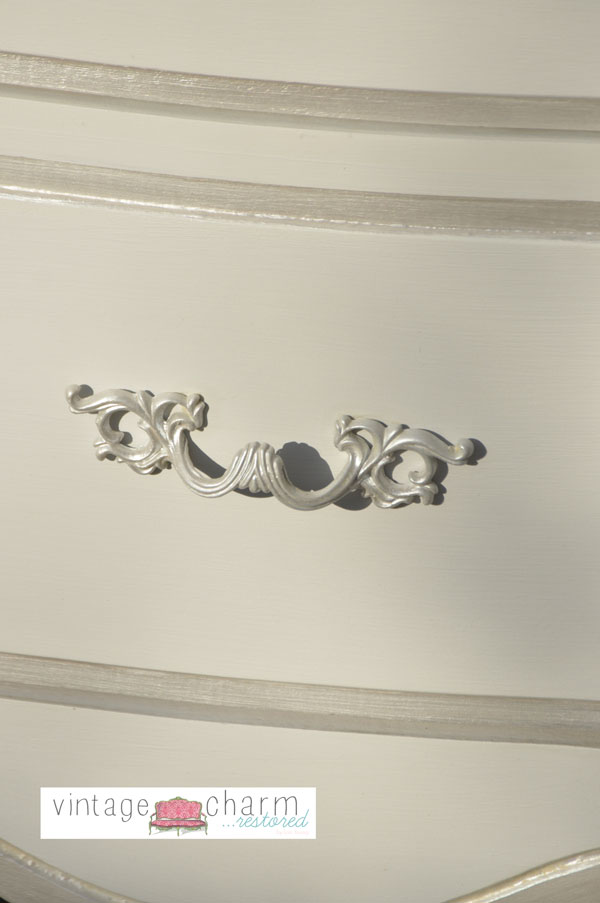
I get asked all the time about the accent painting… I basecoat in the color I am painting the entire piece first. I then go back use the metallic paints over the paint in the areas I am accenting. Most of the metallic paints I use are not opaque. They also require less coats when you have primed or base coated in a similar color. So painting out the entire piece sure helps need fewer coats. I do not tape off. I use a small artist brush and freehand and follow the lines or curves that I am detailing. You can always go back and touch up with the original basecoat if you fall out of the lines. {that’s when distressing sure comes in handy… but these pieces that don’t have any distressing are a lot more time and little more care to detail.}
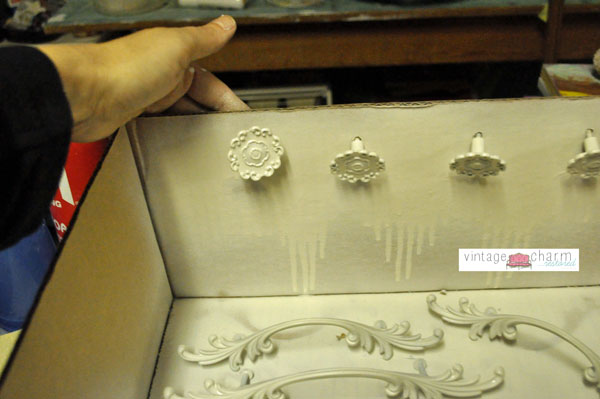
I use Costco boxes to spray prime my hardware and paint them. Punch holes for the single handle ones and you can use the back of the screw to rotate it while you paint. This will help you get all angles. For more details on painting hardware you can see this post.
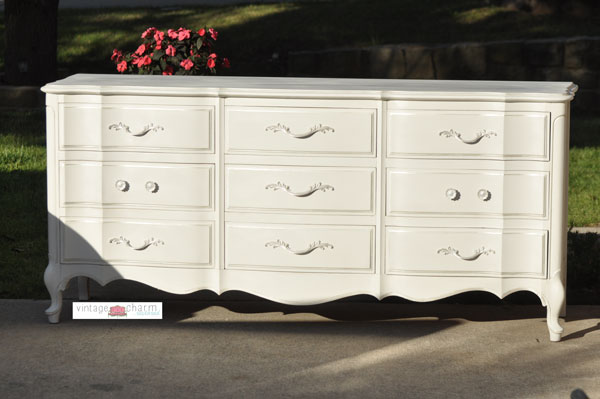
And now for the finished shots… It was early morning when we were headed to deliver and well… shadows abound in my front yard. I apologize.
I want to take just another minute to talk about the smoothness you can see in these pictures. Often I hear people afraid to use chalk based paints because you cannot get a smooth finish or because you want a high gloss look. False to both. The chalk/clay based paints I used on these are especially thick and creamy. You can water down the paint to make it smoother { benefits to it being so thick is that you are actually getting more paint for your money}. You should always keep a water cup handy to dip your paint brush in when you are working with larger pieces. It may take more time but I always work in thinner coats. This allows you to spread the paint, or push the paint along the piece in smoother coats. Sanding between coats is truly key. I want to caution you though on that part- the higher the grit the finer the sanding… but don’t use so much pressure that you actually burnish the paint- giving it that already waxed look… your wax or topcoats will take differently to those areas and you will have an uneven finish/color splotches. This isn’t a paint problem it’s the finisher problem. So lightly sand between coats. And lastly, the topcoat you choose will determine the finish. Many different products out there to play with. I am loving the Real Milk Paints Carnauba wax. The durability is amazing and it buffs to a really nice sheen. If you are looking for a high gloss all you need to do is top coat with a product like Master Clear from Modern Masters or High Performance Polyacrylic from General Finishes. Both amazing to work with and both do well on the lighter colors.
Thank you for making it to the end. I hope you enjoyed it and learned some great tips along the way!! I am always happy to help and try to answer your emails when I can… so be sure to comment or shoot an email if you have a question!!
Thank you and see you again soon!! ~Lori
Sharing:



I love reading your posts because I learn something every time. I haven’t painted any hardware but I will be using a box when I do.
Beautiful set!!!!!!
They turned out great and it is amazing how one color really can bring everything together.
You are a rockstar 🙂 My favorite transplanted texan <3
You are so funny!! Thank you Kisha!!
Love it! Fantastic job and I love the knobs and drawer pulls.
Wow! What a beautiful set you created! I am sure the new owner was over the top thrilled with how beautiful and how detailed you were with each piece. Thanks so much for sharing at Redouxinteriors!
[…] bunch of furniture that doesn’t go together but you need it to all look unified? Lori from Vintage Charm Restored shows how to take mismatched pieces and give them a beautiful, unifying look. Plus tons of great […]
I follow you on FB…not sure why I didn’t realize you have a blog! Love your work and looking forward to readying these posts! I just told my hubby I’ll see him tomorrow! Ha! 🙂
Robin
I was so surprised to see a headboard and foot board, just like ours. They belonged to my husbands grandmother and were passed on to us. We actually have the full bedroom suit, a wardrobe, vanity, long dresser with tilting mirror and the head/footboard. A few years back we took apart the vanity to create bedside tables, turned the footboard into a bench that sit’s at the foot of the bed so we could have a Queen size mattress and painted it all black. After seeing the cream color I’m thinking it’s time for an update! Love it! Wish I knew how to attach a picture so you could see how different the two colors look, anyway thank you so much for the posting.
Hi there Lori, you work has come so beautiful I too love all things vintage I am only now starting my journey! However I am enjoying it so very much!!
Jilly oxo
I bought this bedroom set in the spring ,not the bed ( still Looking for bed ) for my daughter. I have been to lazy to paint it . Thanks for posting ! Looks just like I pictured in my head. Now I need to find a bed . LOL ! Get off my butt and paint. You did a great job ! Thanks again for posting pictures , Candy
I really love what you did to repurpose this furniture. Just love the white color used. Now I want to go out and find furniture to paint. Thank you for sharing this with us and I know your daughter will just love her new room.
Hi – love the set. Wanted to ask what product you used to fill in the areas of damage in the veneer?
Thanks,
Karen
[…] Vintage Charm Restored […]
[…] vintagecharmrestored.com […]
[…] Vintage Charm Restored […]