Disclaimer- This post is Sponsored Post on behalf of Homeright. But all opinions are mine, because I truly love the product.
The Homeright Paintstick EZ- Twist Paint Roller is my new best friend.
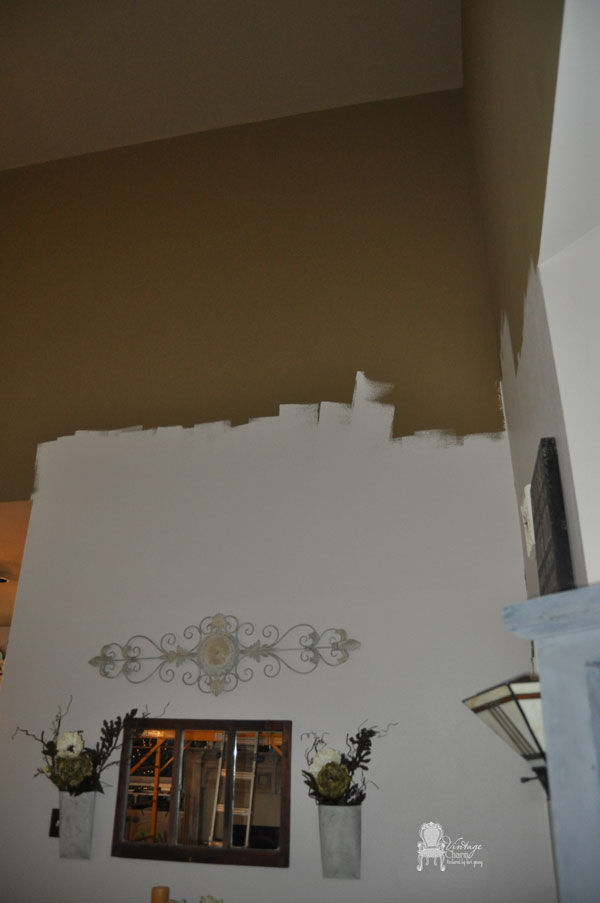
Many of you who follow along with me know that I have a lot of projects going at one time. And I am always shouting “Work Smarter Not Harder”. This handy dandy little tool is just that!! I started my living room and kitchen cabinets at the same time- and that was silly. But only because my living room is two stories and how was I going to paint that top?? I have a horrible fear of heights and the idea of scaffolding or ladder with a paint roller and pan was stressing me out!! So in true Lori fashion, I painted as high as I could and walked away from it for about 2 months. Yes, I lived with half painted walls that long in my main living room. I kept my head at eye level and told everyone to just not look up and it would be beautifully fine!!
{ Top half was Martha Stewart’s Jute and lower is Restoration Hardware’s Pumice.}
My husband went and rented the scaffolding 3 days before our Thanksgiving dinner with his parents. For me that meant facing the dreaded fear and sheer excitement of all it getting done.
I went back to Lowe’s with him immediately to get more paint. I wasn’t running out of paint while up that high. Honestly, I wasn’t coming down from there for anything until that room was done. Scaling the sides of a 10 foot anything straight up meant only one thing- you have to come down at some point. How??
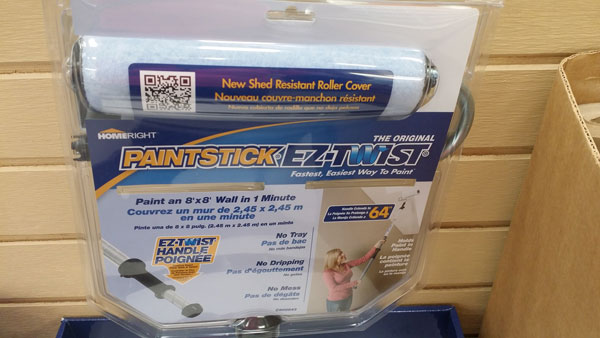
Moving on… At Lowe’s while waiting on my paint, I saw this handy dandy little contraption. I said, “D, I think I have seen this around blog-land, let’s give it a try, I am not sure how we I would put a pan on that scaffolding.”
So at $24.95, I think it was safe to bet that if it worked it meant he didn’t have to paint the walls.
The first thing I want to say, it rocked!! I loved it. It saved me so much time, heartache, and ultimately money.
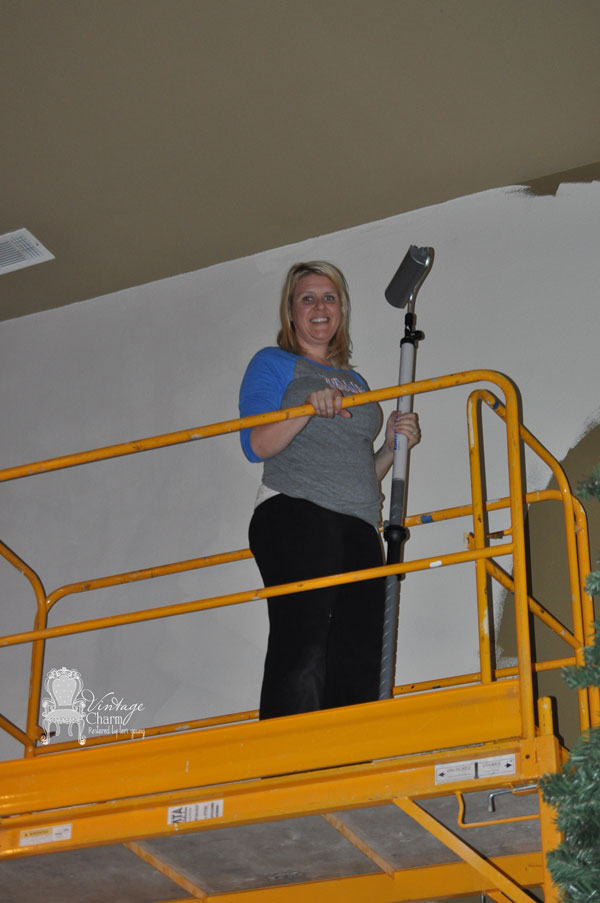
Secondly, that’s love showing you a picture that I look like I’ve been painting all day. Just remember on days where you are painting there is no need to wash and do your hair or wear make-up… said Me!!
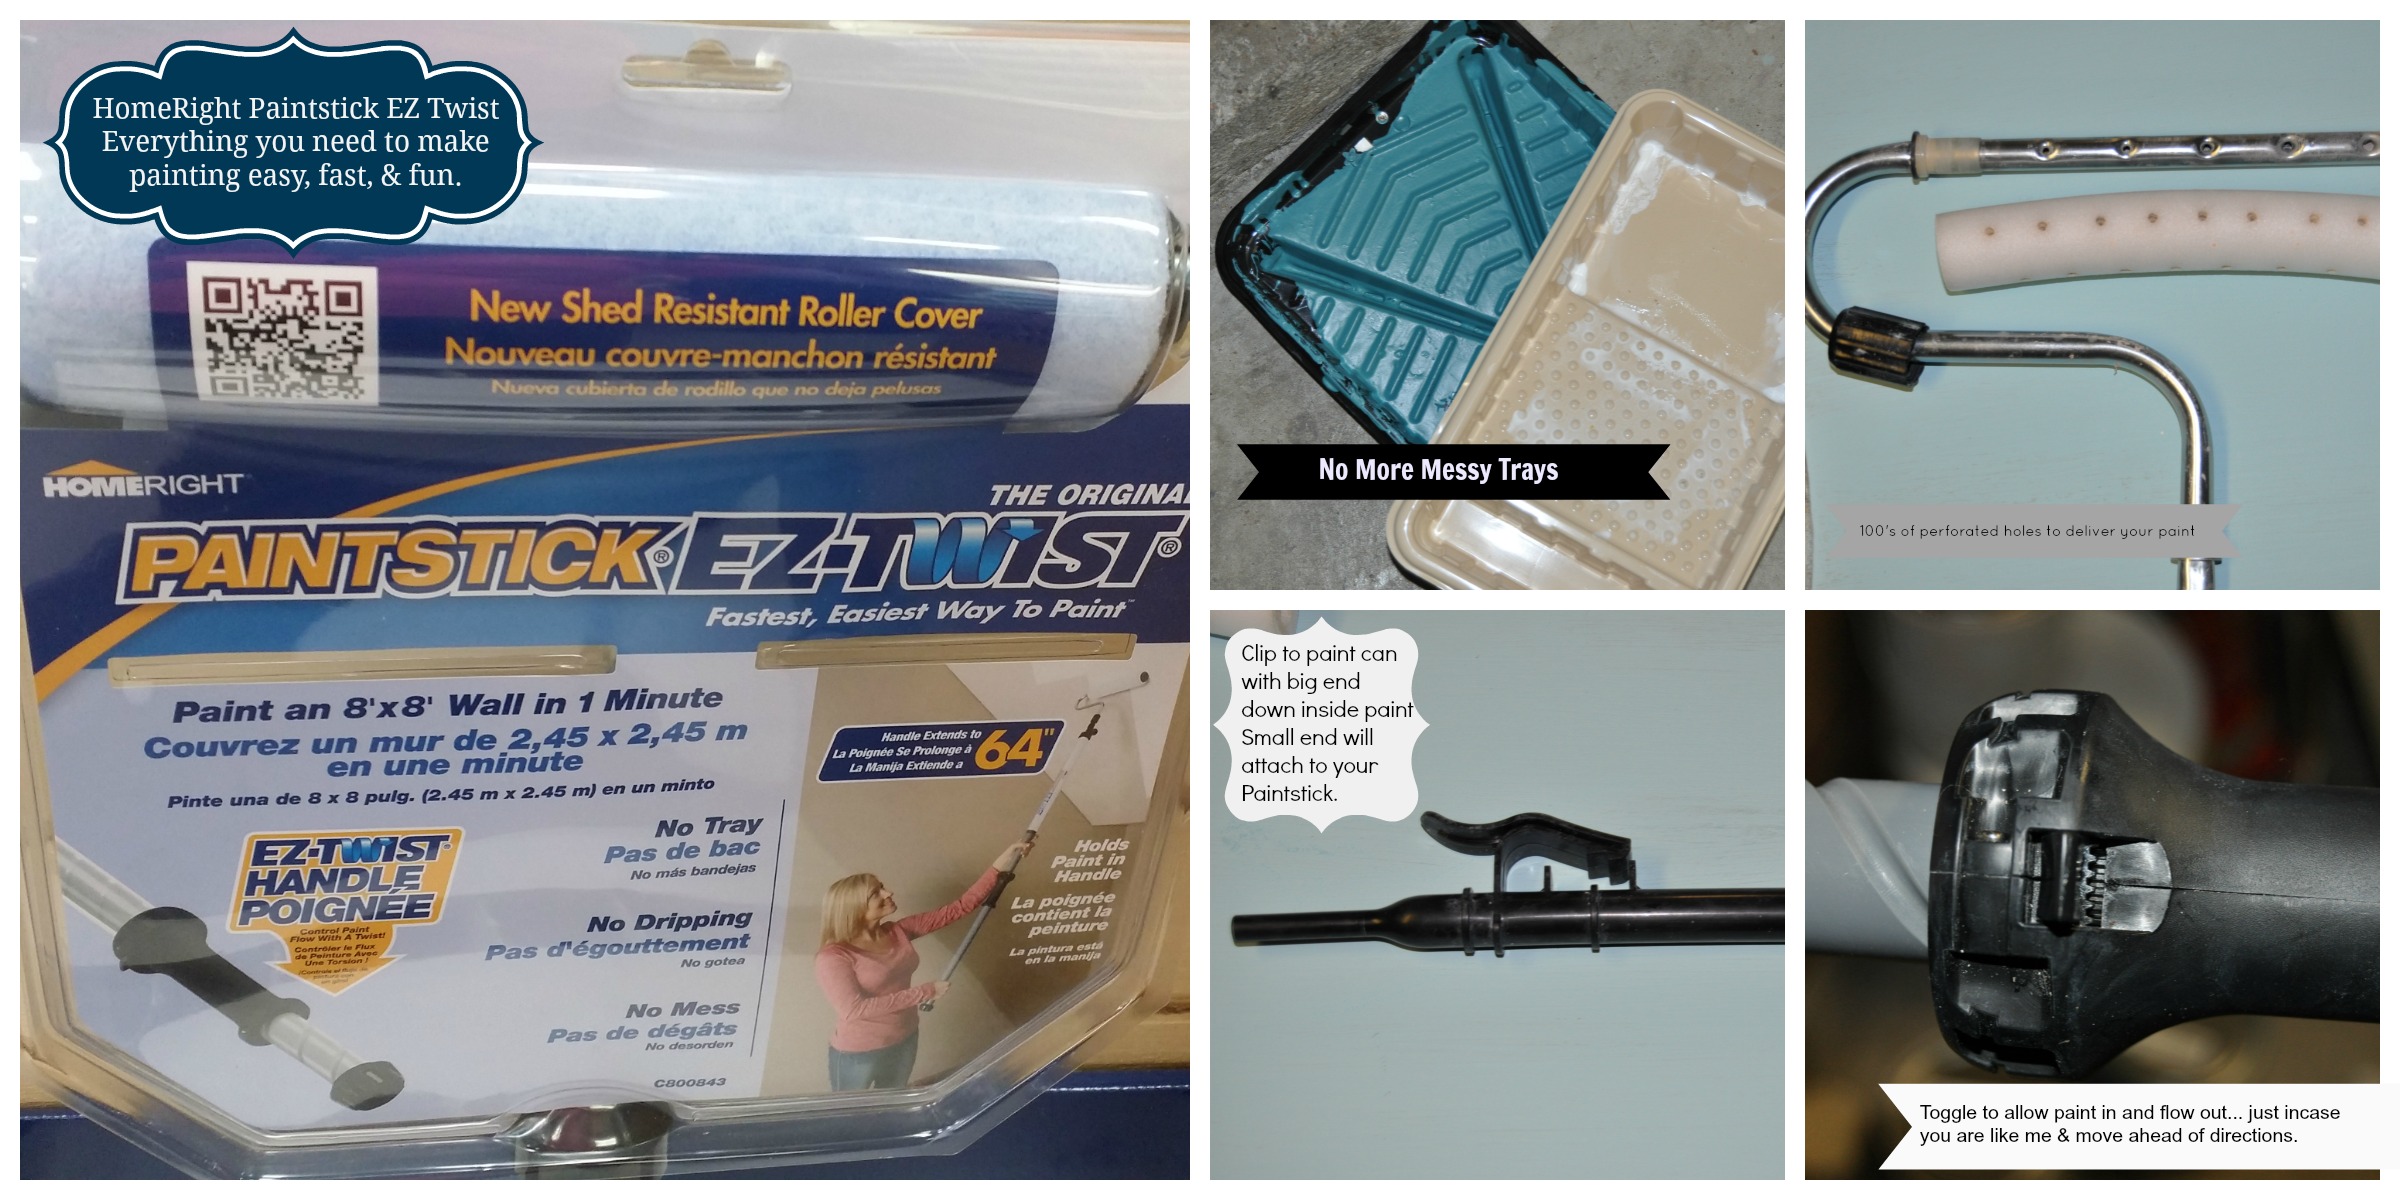
The tool itself is super easy to use. Connecting it to the gallon of paint and twisting the lower part to twist and suction paint up into the stick… genius. There was NO dripping mess, because of the drip guard that actually worked great. The Paintstick allows you all of the control on the amount of paint you want to come out of the hundreds of perforated holes in the roller. And in the size of room that I have, it only took about 6-7 times of refilling. I didn’t use as much paint to paint the top half as the bottom and it cut the project time in half easily. I did have to cut in around my ceiling which even on the scaffolding I was too short- so that was most of the time. But I painted the whole room in 3 1/2 hours. By around the 1 1/2 mark, I was completely comfortable with the wobbling of the high contraption. By the 3 hour mark I was planning my exit plan through the half wall window to the landing.
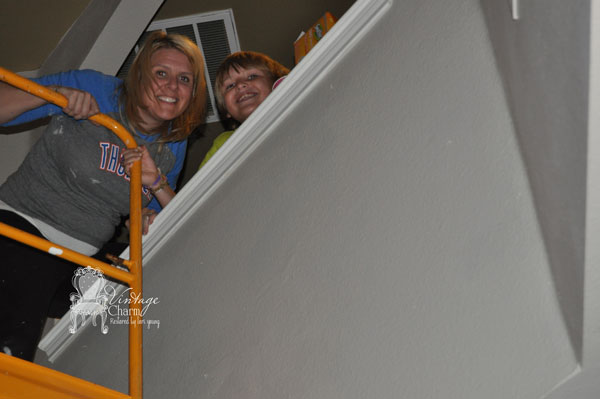
It was shortly after the next picture that I told you on Facebook how much I loved the Homeright Paintstick EZ- Twist paint roller. I was so happy that I didn’t have to deal with all the traditional things you do painting on 10 foot scaffolding.
How to Use it
1. It’s already assembled for you!! Bonus.
2. There is a small nozzle that has a clip to attach to your gallon. You will want to make sure your gallon of paint is full or ask for a helper to tip it so the amount of paint is covering this piece at least 3/4 the way up. It will help load the stick faster.
3. Connect your stick to the little nozzle firmly creating a tight suction.
4. There is a small little latch/toggle on your stick that opens and closes to allow the paint to flow into the stick as you twist it up to load. You close it when you are done so you allow it to flow back out as you paint.
5. You will twist it out towards you to load and then twist the opposite way back up to paint.
6. Make sure your paint guard is on tight and in the right position to help you best- it does move around and depending on if you are painting a wall or ceiling it might be best to adjust it just right.
7. Reload as needed. It’s that’s simple.
Why I Love my new BFF
1. No pan, no tray liners. No Mess!!
2. No wasted paint in tray liner. The amount of paint that is suctioned into the Paintstick, is the amount of paint that you actually use. I can’t tell you how awesome that is for me. There is no stepping in a paint pan, there is the ability to go straight to another room and get started on it. And the left over just goes back into the gallon. They do have replacement roller heads that you can buy for future projects. Those will run you about $5-$6 depending on the size of the roller you buy. I only used one roller on my whole living room and it still had a fair amount of nap left to it. I was truly impressed.
3. Everything you need is right in the package. Includes simple instructions. You’ll only need paint to fill it. And it holds a lot of paint saving you a ton of time. There won’t be multiple trips to the pan to reload your roller. { & we all know that really means that there won’t be a chance to step in paint or any other little helpers to make new painted areas!!}
4. It really lives up to it’s name; it was “EZ to twist” the paint up inside the Paintstick. It was easy to twist the bottom and roll the paint out onto the wall at the same time as well.
5. The clean up, well my husband said it was easy too. {It’s kind of like dinner… I paint- he cleans.} No messy trays or pans to clean up. Love Love it!!
You won’t ever hate painting a room again!! I already have my eyes set on the next project!! And I can’t wait to get started… but Christmas first, or not.
Thank you for letting me share this with you. When I love something you know it. And thank you Homeright for such an awesome new tool!!
I hope you enjoy!! More on the finished room to come… it’s looking a lot like Christmas here!!~ Lori
Lori, We are so happy you picked up the PaintStick EZ-Twist while you were getting your paint mixed at Lowe’s. Thank you for the product review.
Laura Clark
HomeRight
Isn’t it amazing? I love mine too! You go girl with the scaffolding! Thanks for the link back 😉
Hugs,
Jamie @ somuchbetterwithage.com
PS; Love your blog
[…] all the way around. I used Restoration Hardware’s Pumice that I had painted in my living room… And a the stenciled portion I used a $5 mis-tint from Lowe’s {which I will be color […]