

So I was sad that Charm was closing up shop and moving to the country, but I am so happy with the new location for the paint!! Still down on the square and the parking is incredible right there by the shop!!! Big plus in my book!! Sandy had a big tall cabinet that I could use to put the paint in but it was going to need a little makeover!! I often get asked can take something that isn’t real wood and new and make it shabby?? Why yes, even IKEA, just look away from the straight lines and straight to the finish itself!!
Here is a before picture of the monster cabinet!!
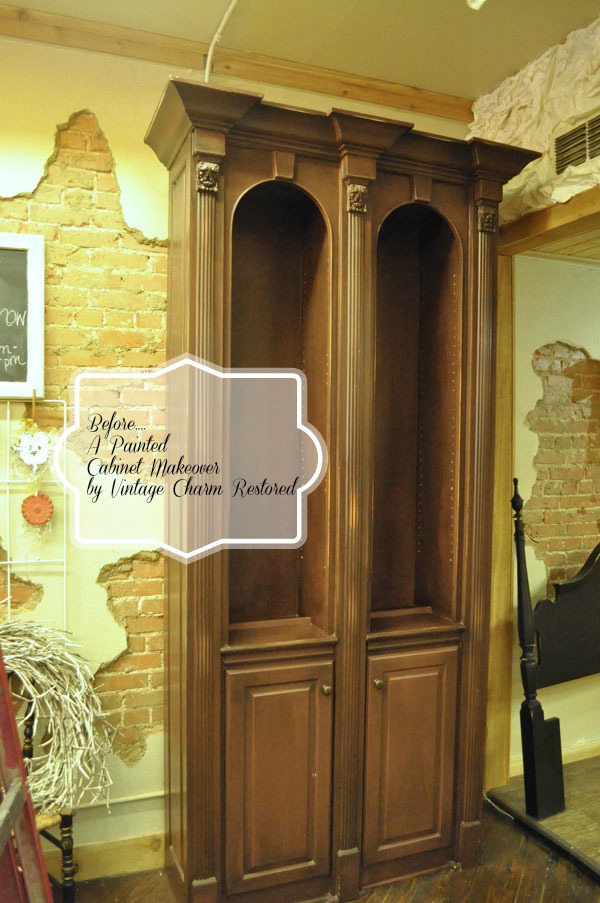
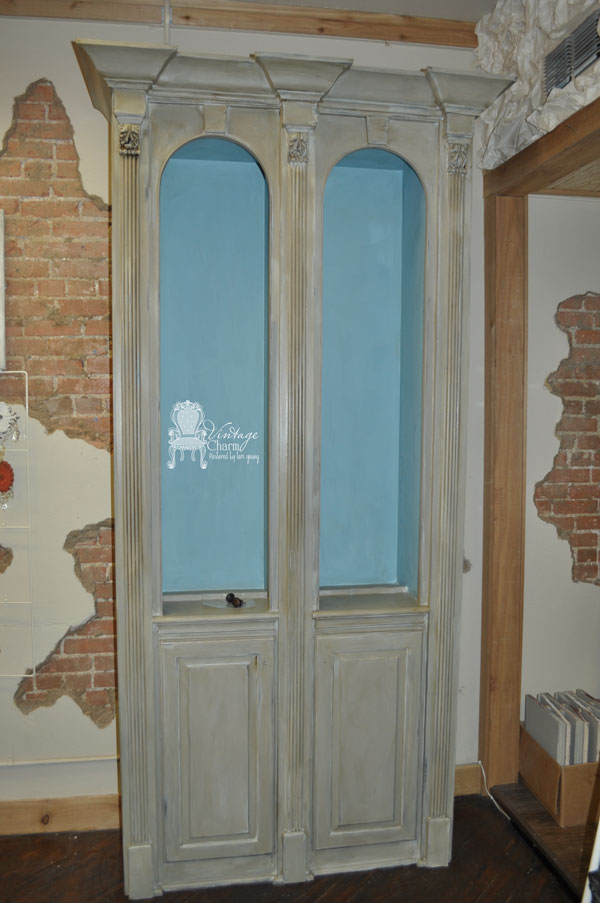
See it’s really big and tall!! I will show you the during pics and the finished piece but stay tuned for pics of it full of paint and more of the new shop I am in!!
To start I base coated in a light coat of Le Craie Vanille. Not fully covering the whole piece. Why? I was doing this in the store. I didn’t want to have to go back and sand a ton so I kept my coats light exposing some of the wood tone in places I would typically distress in. This isn’t my normal way of painting… I am a bit of a control freak, anal, ummm… detailed oriented and like to put it all on and take off where I want too… Okay maybe type A… Anyways, the second coat is Cobblestone. I had planned on doing a third coat of Hurricane but Sandy was watching me {makes a girl nervous- I always paint alone} and she thought it looked great with just the two. I painted with brush in right hand and had wet wipes in left taking off as I was putting on… Wet distressing leaves no mess!!!
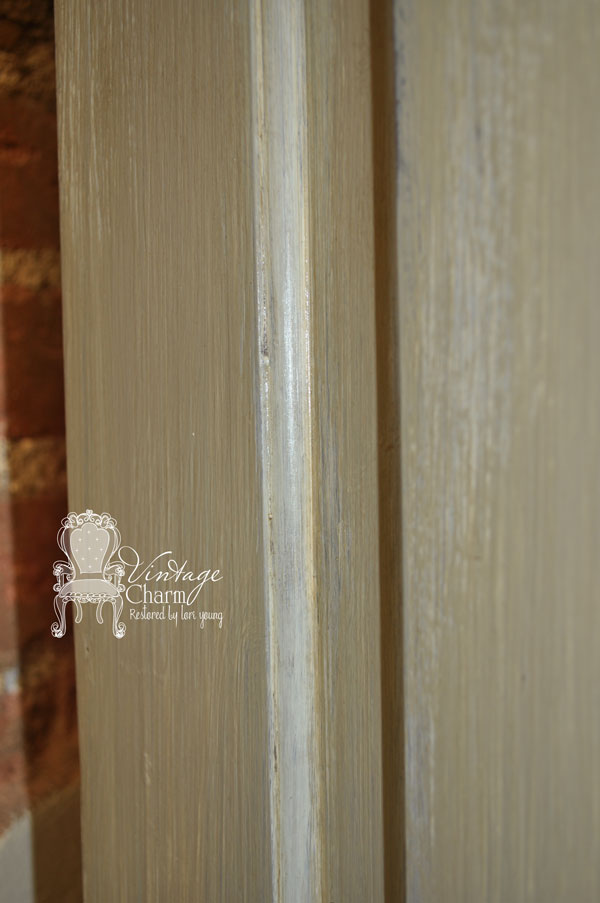
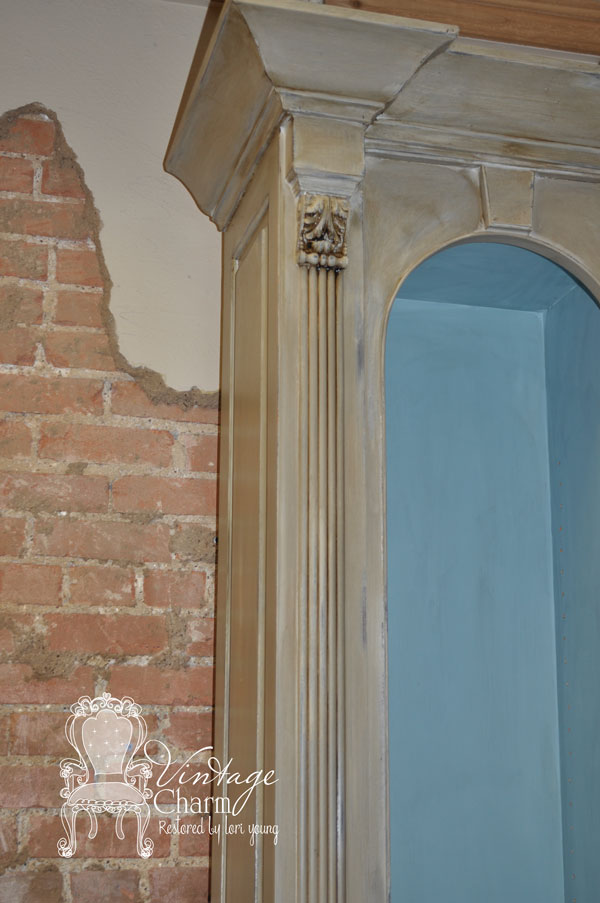
Real quick I jump ahead to show you when I was finished with the piece I went back around the doors and sides and a little around the top and added in a bit of Le Craie Sugar Cane details… wiping off a little making it more transparent.
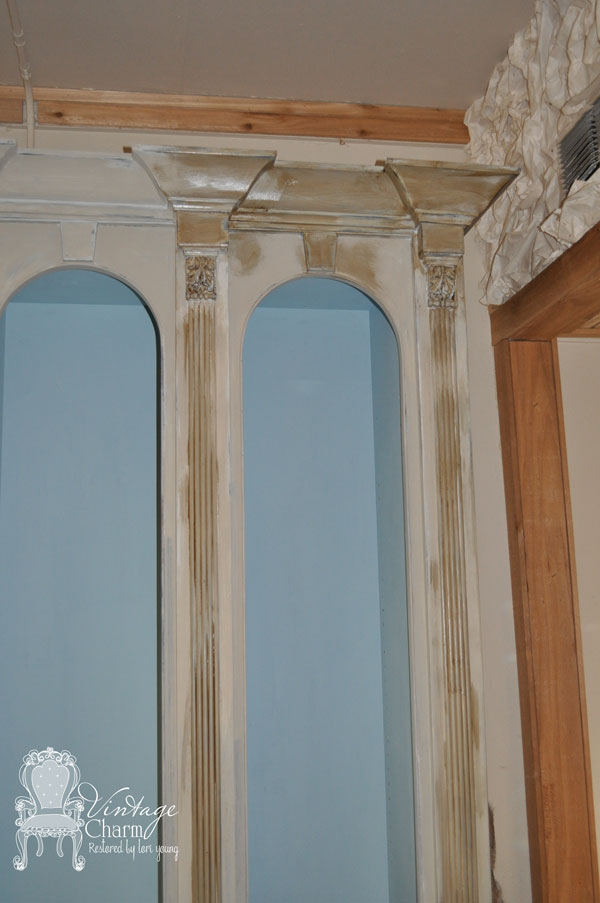
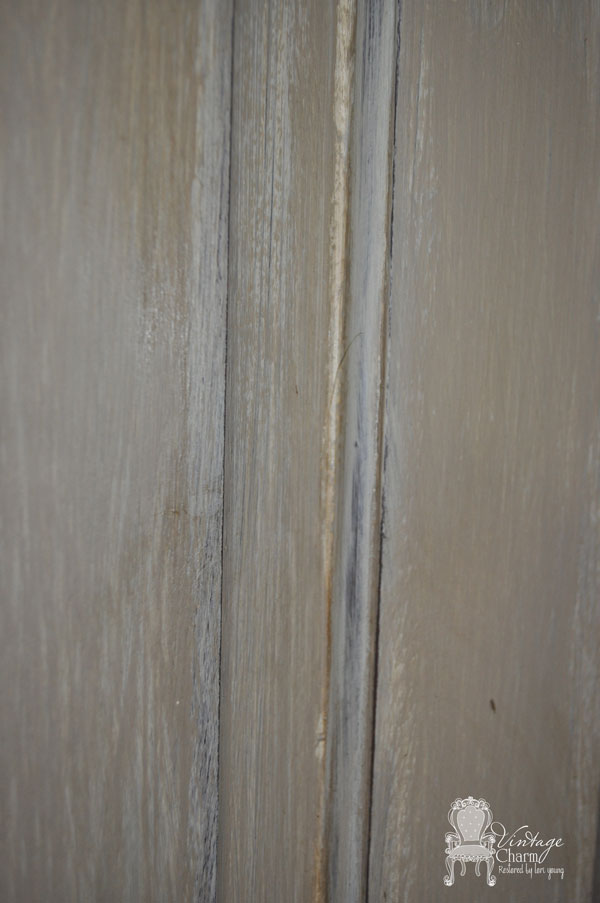
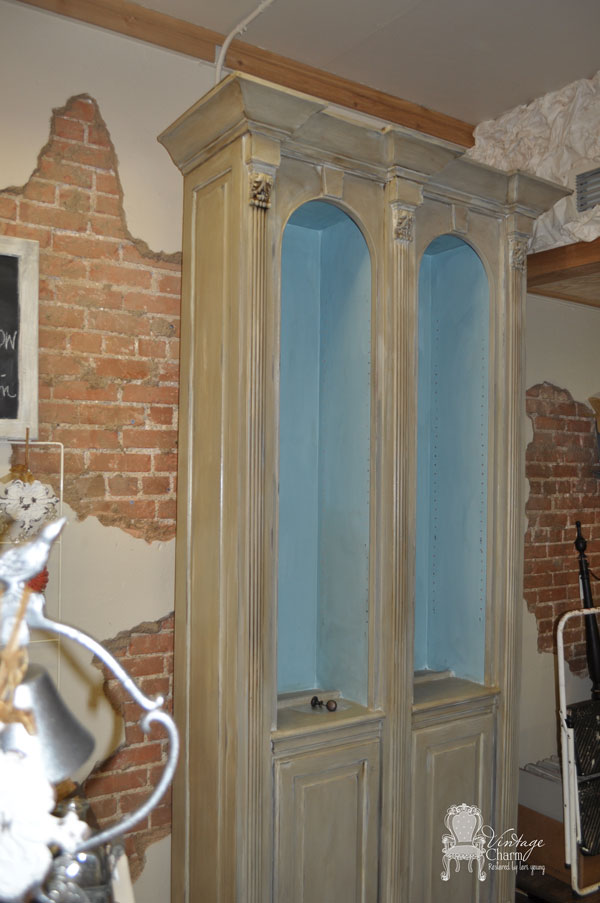
The inside was painted out with Le Craie Robin’s Egg to brighten up the inside. When the piece was completely covered and I had used 400 grit to lightly sand down and make it buttery smooth… I began with the dark wax. I applied it directly to the piece. {Remember with our {MBPC} wax you do not need to put clear on first. And it can be used alone with out clear as a final coat as well!! } I let it sit a bit and {took this pic} grabbed a buff pad and lightly went over the top of the details allowing the dark to stay in the recessed areas. Then I went back in with a light brown wax over the rest of the area. Clear wax on the Robin’s Egg.
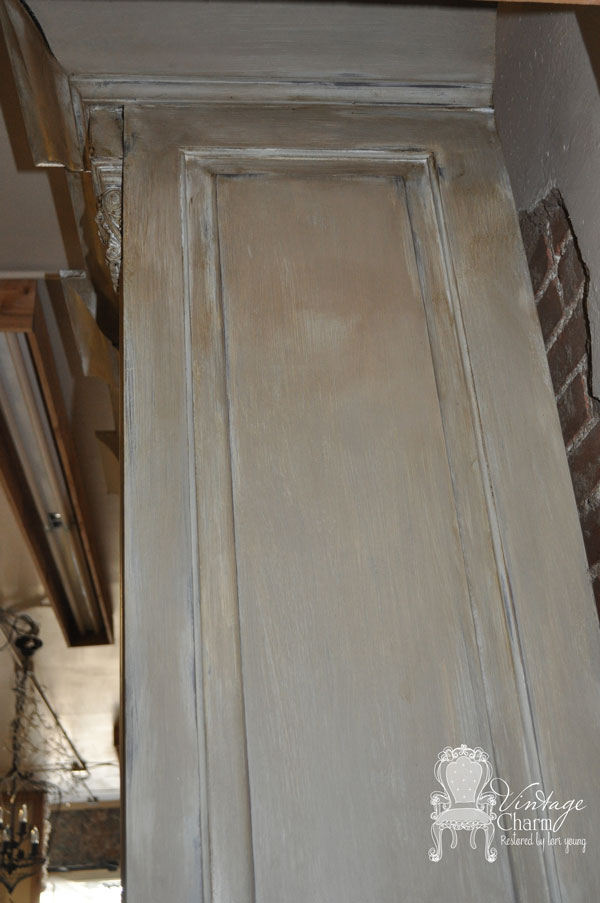
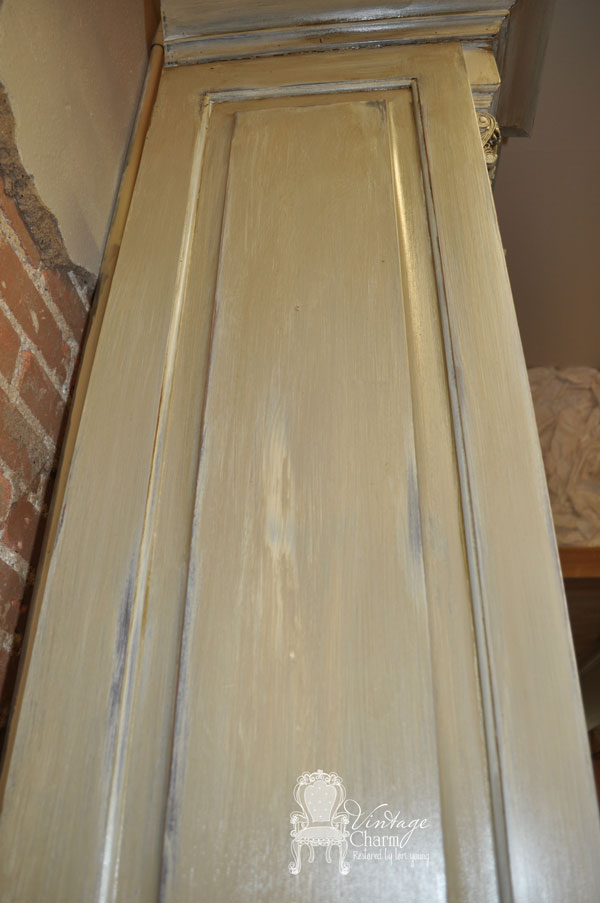
Above is a during shot, on the sides I started with dark at the top, blended light in the middle, and the a little clear here and there, back to dark at the bottom.
Here’s a gorgeous shot of the sheen from the waxes…


Just beautiful, I like the dark wax and the sheen you achieved. Lovely work and so many tips. Di
Really nice color choices!! Wow that is a tall cabinet…can’t wait to see it filled with all your paint and waxes!
June
This is beautiful. I’m new to chalkpaint and have to learn more about colors and different manufacturers. I love your use of color. The piece came out fantastic. Bravo