A sweet follower took my painting class a couple years ago and referred her friend to me. A sweet grandmother wanting to have her mother’s antique bedroom furniture set redone for her granddaughters. I was excited to be a part of that!! And I am so glad that she chose me to keep it in the family. I loved her and her sweet husband. And their love for their grandkids just was overflowing!!
Her Old & Now New Again… Painted Antique Bedroom Furniture!!
This wonderful set had some challenges along the way… and I want to help you by giving you all the details on why and how to fix…
First, this set is really old. In general, I will test a very small area of a piece to see if I am going to get bleed through. With the age of this piece and the wood’s condition and color- I expected it. I tested the bed rails. And sure enough, even under the aqua color, it turned a yellow green in some spots… So I used a clear shellac primer. I chose clear because I wanted to be able to sand back lightly on the edges and not have it show white. The other challenge was this piece had a few places that it was really a bumpy alligator finish- that has to sanded down completely or it will show through your paint. Any bad varnish job will show through your paint. You can’t correct it and it will look like a bad paint job!! Drips, ripples, whatever the case- fix it in the beginning and save yourself time and trouble!! So all was great- the pieces were sanded and 2 coats of shellac and cured over night and I painted the next day!!
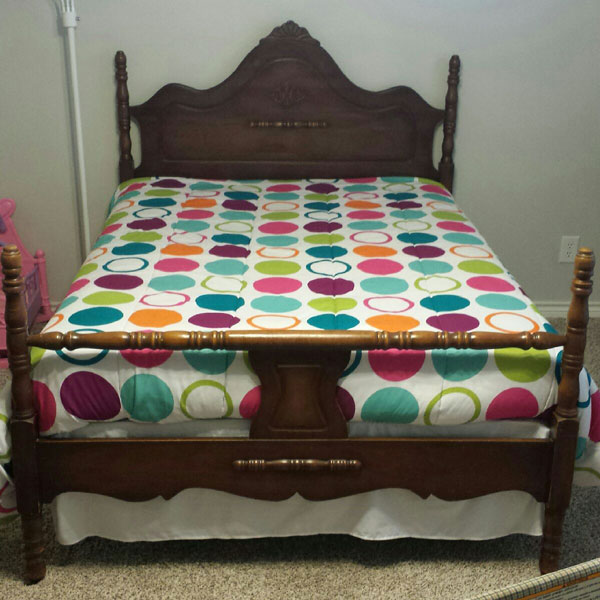
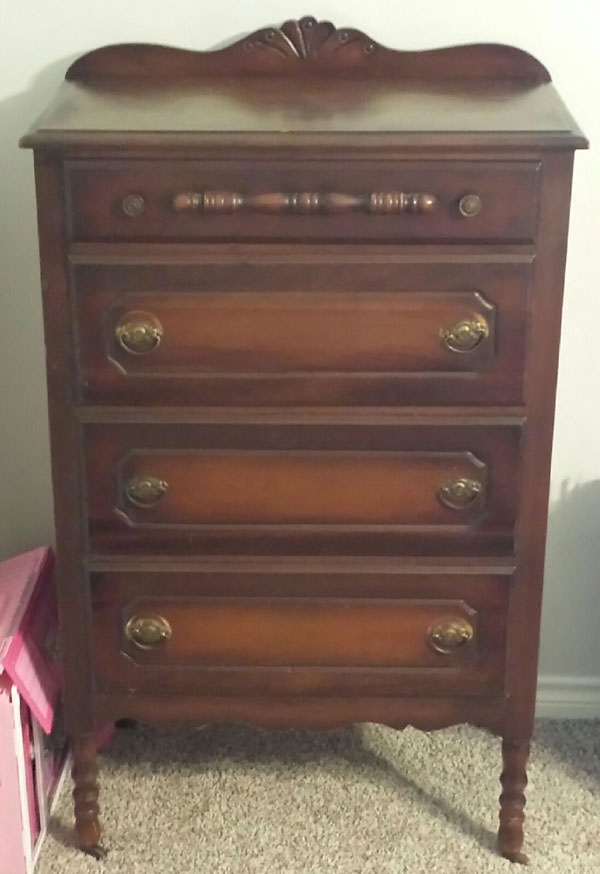
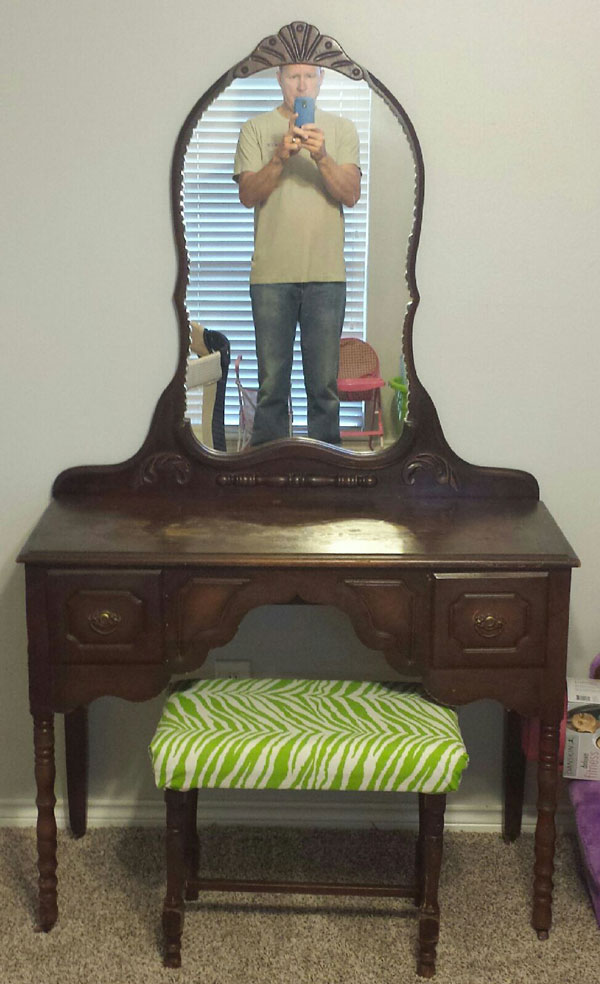
Here are the Before’s:
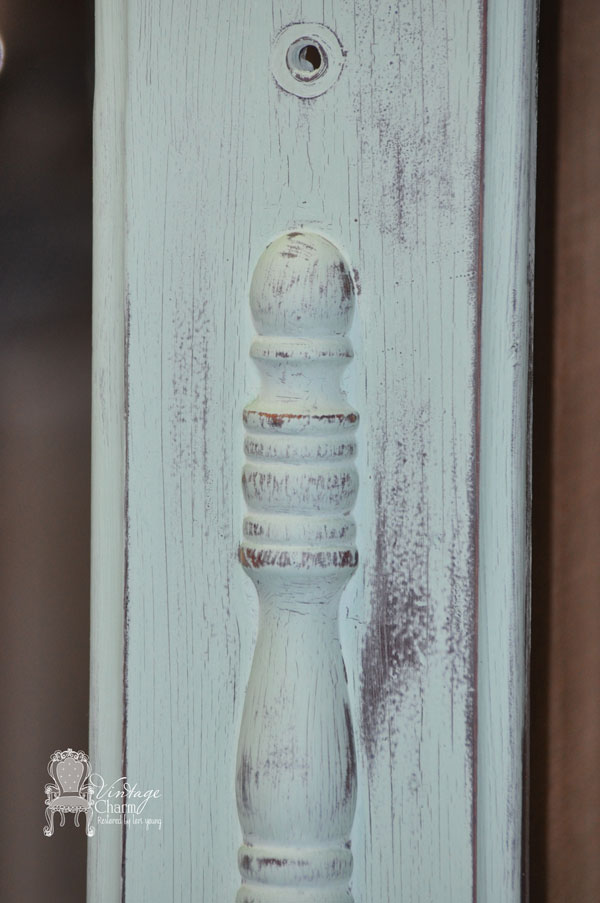
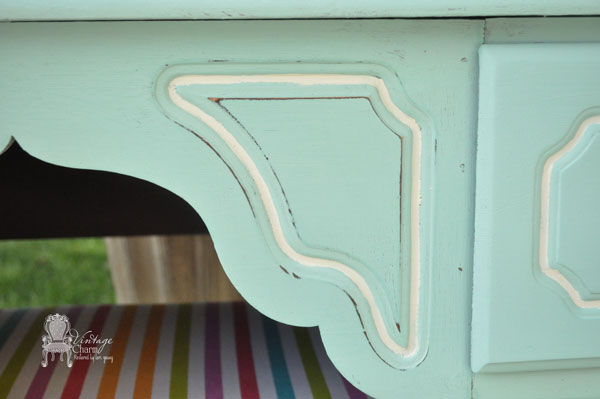
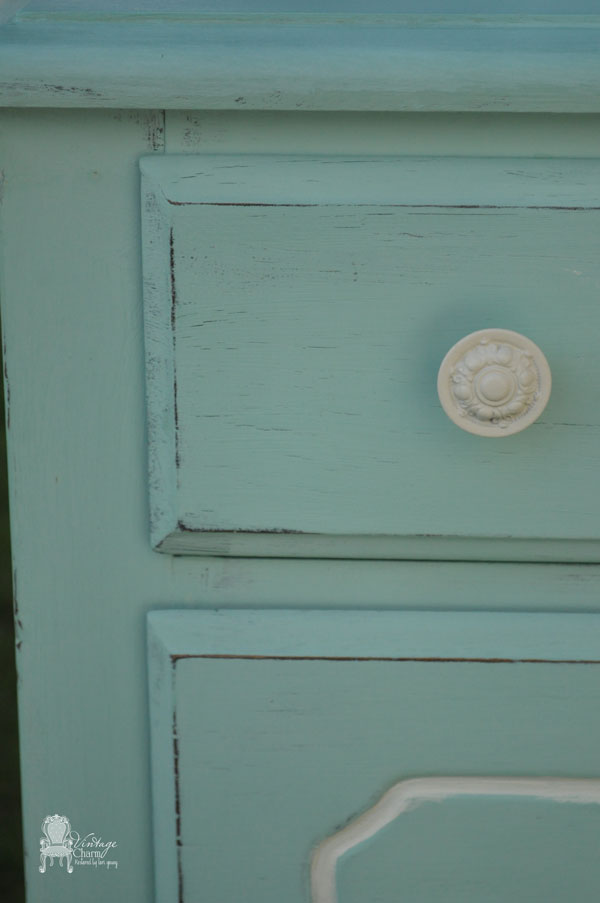
But wait… One coat was dry and it was completely crackled. Not on the entire dresser, or drawers, or even the entire bed- just random areas. I should mention I was going for an ultra smooth finish with little to no distressing and although this finish was absolutely a painters dream without using any crackle medium it was the owners exact opposite!!
So, I did what I always do… sanded it out in all the crackle areas and broke out a varnish. In this case, Maison Blanche in matte finish and went over the whole piece. Let dry for about 2 hours and came back and painted another coat… slightly better but now it’s still there just faintly. So repeat process!! It took 2 more times and this is what I still had. I decided to go with it after talking to the client. {The best way to sand out crackling is in a round motion allowing you to go against the crackle. Then a quick soft sanding straight across with the grain.}
Even though you sand and completely have primed your old antique pieces… that finish is deep in the wood. Paint or even the primer wets the wood and rekindles that finish. I likely would have seen it in the primer if I had been using a white based primer. But clear didn’t really show the crackling. So, be prepared to play along with it!!
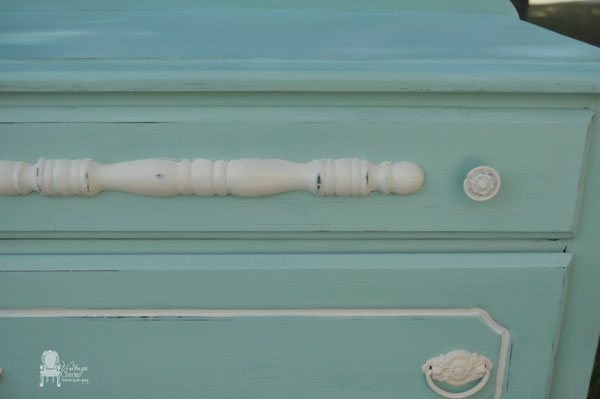
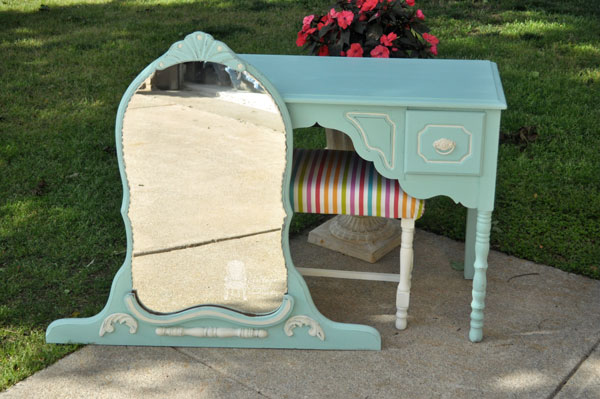
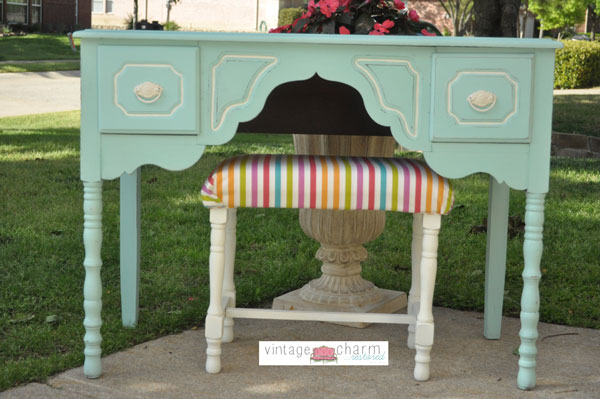
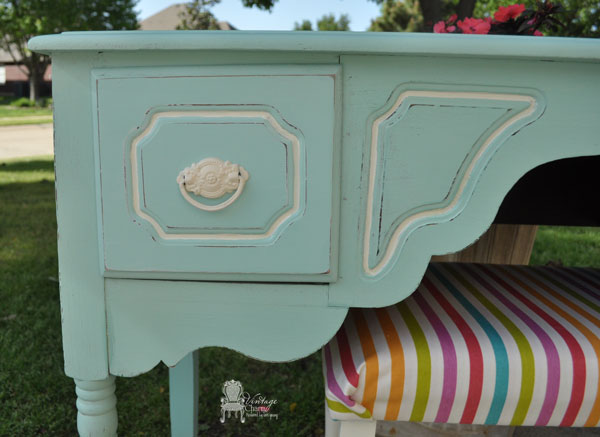
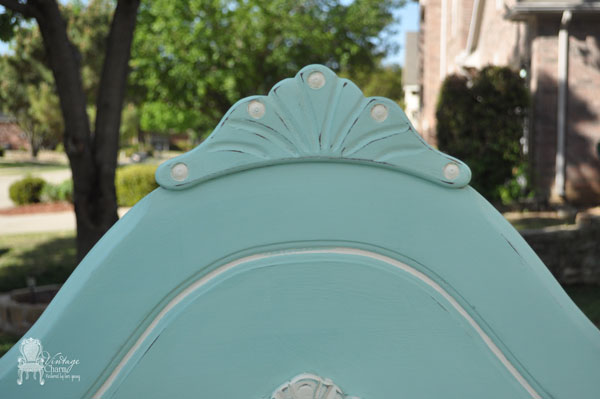
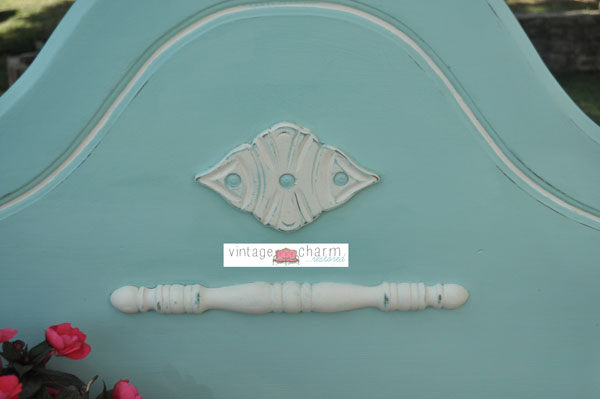
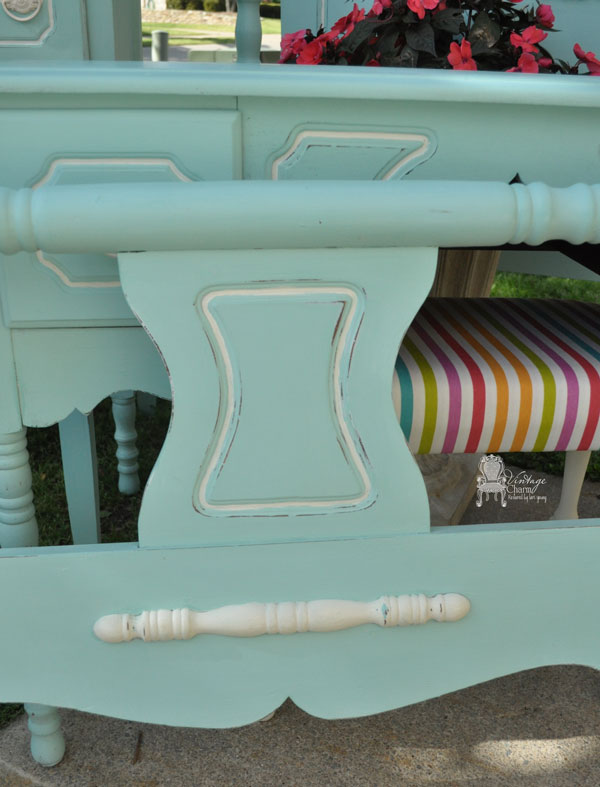
And the After’s!!
Thanks for stopping in!! I have a dresser to share with you tomorrow!! I think you’ll love it, so come back!!
Don’t be shy leave a comment.. Feel free to SHARE!!

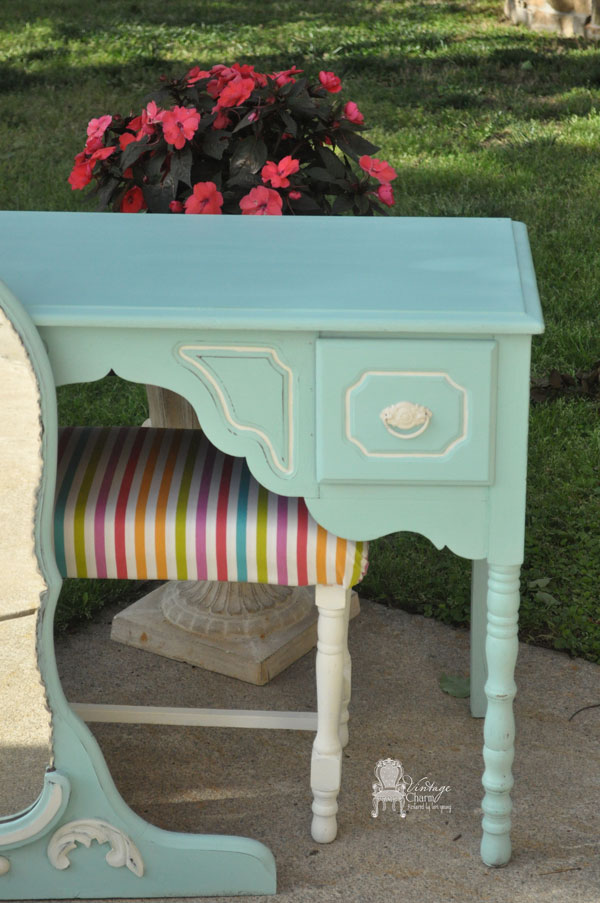
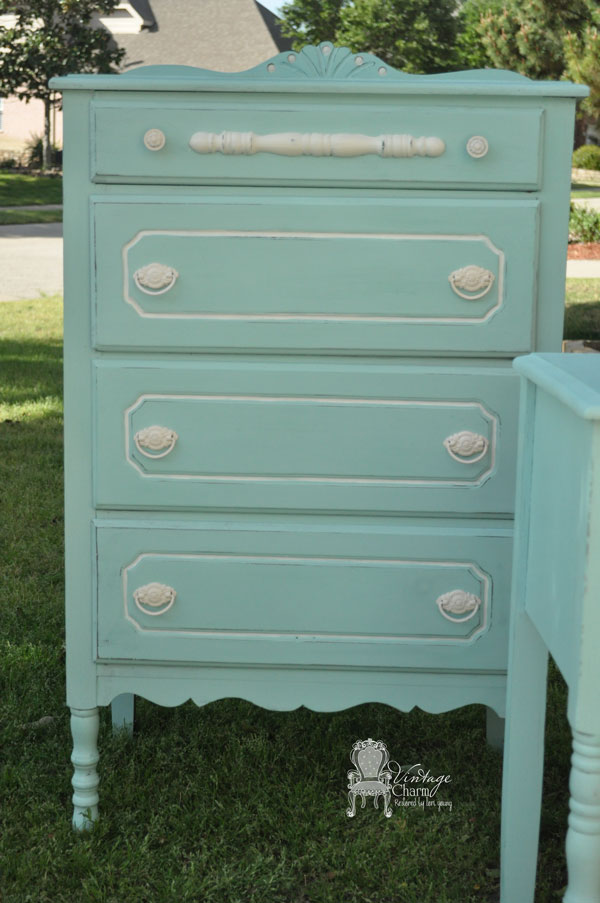
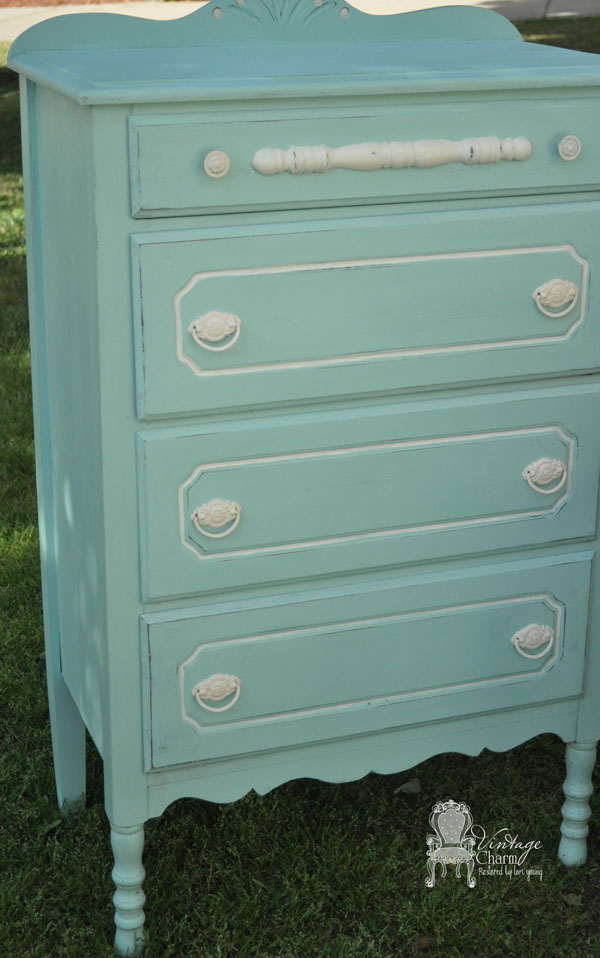
So pretty Lori! Sounds like a ton-o-work but its always worth it in the end! xoxo
I love this set – so beautiful! And I completely adore that color!
Beautiful job!
i love it! will make me take a second look when i see these pieces at sales this summer!!
That looks awesome… I just distressed a big built in entertainment center and I love love love giving furniture a makeover. I have only done white but I think next time I do one of these projects I’d like to try a turquoise color.
Beautiful! I have my Mother’s bedroom set that she had as a teen. I want to paint it and add painted or sticker gardenias & yellow roses (her favorite flowers) to the headboard. She passed away a little over 30 yrs. ago so this set is very precious to me. Thank you for your inspiration.