I am so in love with grays right now!!
Today’s weathered gray coffee table how to is a favorite!!
It’s so neutral and so beautiful!!
I’ve posted it here and here!!
It was a find at a garage sale here in the neighborhood..
It had the lovely shiny cherry finish.
But I knew she was longing to be weathered and lovely!!
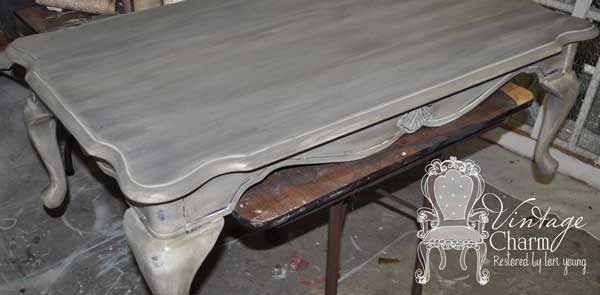
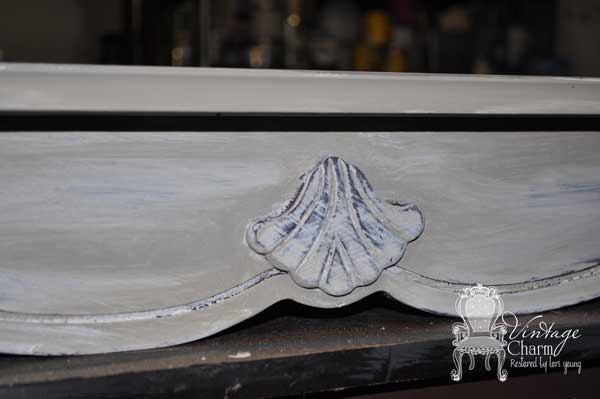 Here she isn’t waxed… just the beginning of the distressing and layering.
Base coat is in magnolia- I did only one thick coat and coverage was not completely opaque.
But that is okay because you will distress to see the wood in some areas.
The next color is Hurricane. I used only these two colors.
I will be doing a video tutorial to show you exactly how I get that natural look
when distressing it’s the one email I get consistently-
“HELP How do you layer and distress so it looks so natural??”
I used a great new stain!! I am in love and that is a bad thing… everything may get a touch of this goodness!!
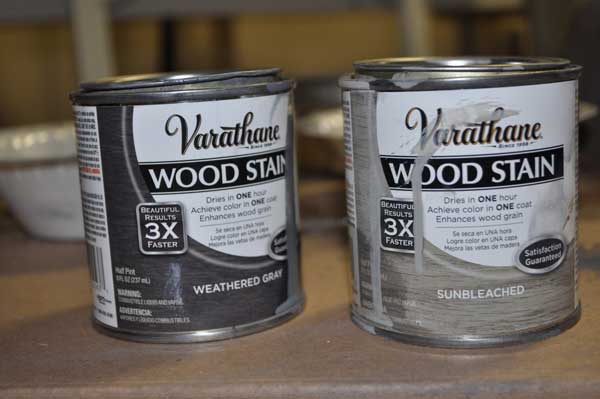 I love it!! It dries fast and does half the work for me!!
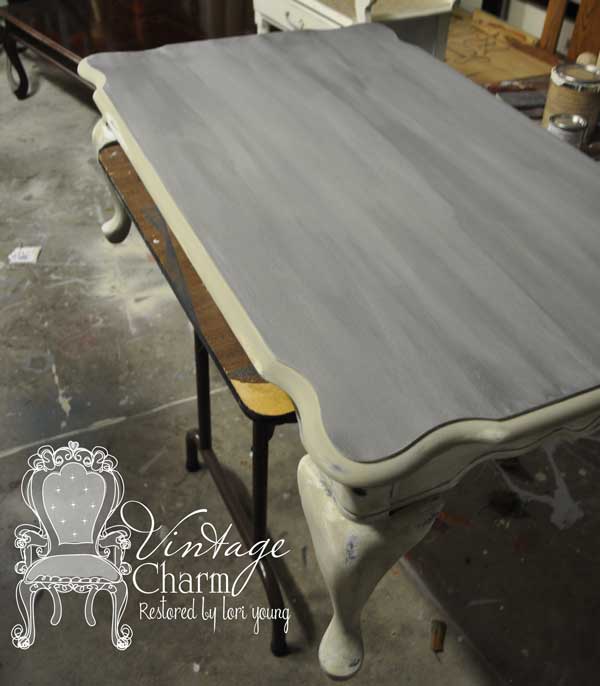
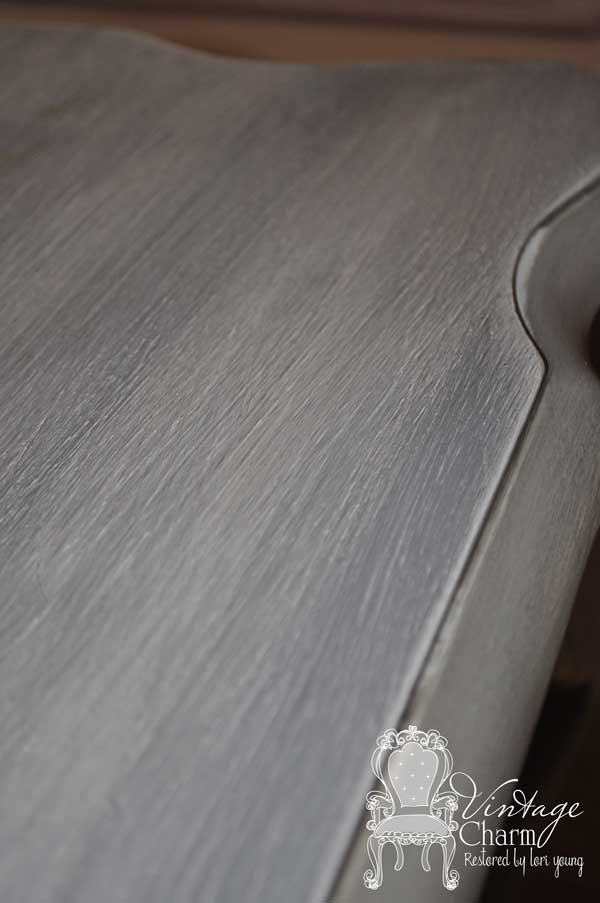
Below you see the stained top- I used the stain right on top of the Magnolia!!
Because it is so porous and I wanted it to look a little more aged- I didn’t stain just the wood.
The next thing I did was to start waxing {with a pad not a brush}
when the stain was “almost” dry. It drags the stain and shows a bit of the Magnolia underneath!!
I used our medium brown wax and it just started to create
the movement you want to see in the finish!!
I completely distressed this piece using baby wipes!!
After letting the wax cure a bit I used a 400 grit sanding block
to make it butter smooth and still expose a little more of the magnolia.
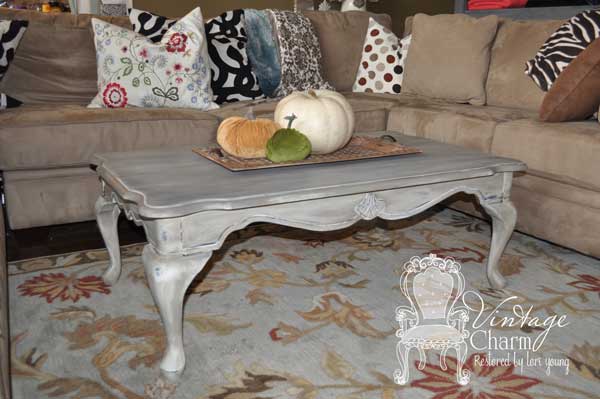
And then waxed again!! It’s ready for Vintage Market Days!!
Although I really liked it right here in my house!!
Thanks for stopping in for today’s How to on this Weathered Gray Coffee Table.
~ Lori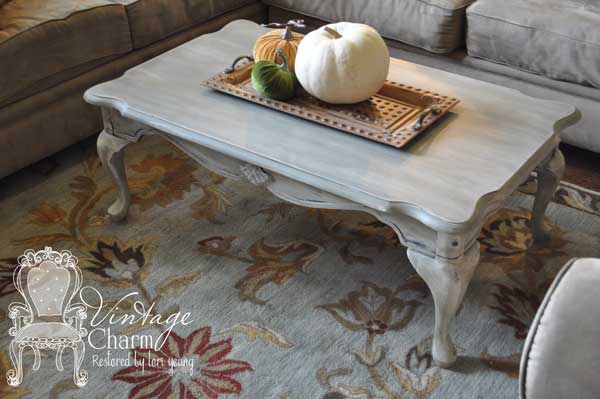
I love what you’ve done. I have been experimenting with the weathered gray look and I haven’t got it right yet. I look forward to seeing your tutorial, perhaps it will help me with the look!
The shades of grey are gorgeous and this finish is so very pretty. I need to get brave and venture out of my single toned finishes. I tried a glaze once but it turned out all bronzy and resembled a fake tan…not the look I was going for!!! I must try this paint! Oh, A BABY WIPE!?
p.s. Are you the friend Betsy is always mentioning? 🙂
Perfection! I would have a hard time letting her go! Can’t wait to see the tutorial video!
Lovely table! I’m going to try that technique today! And I love your rug in the picture! Where did you get it? It’s the perfect color scheme for my living room. I’ve been searching for 3 years!
Thank you Julie!! I got the rug from Tuesday Morning!! It was a great find at a fraction of the cost!! Have a great day!!
Can you explain what you mean by magnolia? Is that a type of paint?
Ashley it is a paint color. Through the Maison Blanche line. It’s just a pure white color.
Hi there! I’m a little confused as to if you put the hurricane or magnolia paint on first and whether you put the weathered gray stain or the sunbleached on? Can you let me know as I plan on following this post to the detail.. I’m obsessed with the final product.
Thank you so much!
Nathalie
Nathalie, the base of the table is done layering the 2 colors. The top is done using the stain over one coat of the Magnolia. I used the weathered gray and then then the sunbleached to give it that look…. Sanding it to make it really smooth allowed some of the white from Magnolia show through. Thank you.
Thank you! It is just so beautiful..cannot wait to start working on this!